Egg Tempera
PAINTING WITH EGG TEMPERA
A Step by Step video series from Susan G. Scott
filmed by Nasuna Stuart-Ulin
This guide from Susan G. Scott provides both video demonstration and an illustrated, step by step, guide on how to create egg tempera paintings. Scott demonstrates the processes she used to create her paintings: the support panels, the paint, and the paintings of her Hidden Children series. She outlines her technique as compared to more traditional egg tempera: a technique she developed that allows for looser, more spontaneous work that is closer to the immediacy and intimacy of watercolour.
1 preparing the boards
You will need small solid wooden or masonite panels, Chalk Whiting and Knox Gelatin (or Rabbit Skin Glue) (note, you can skip this step and purchase boards that are prepared for egg tempera painting)
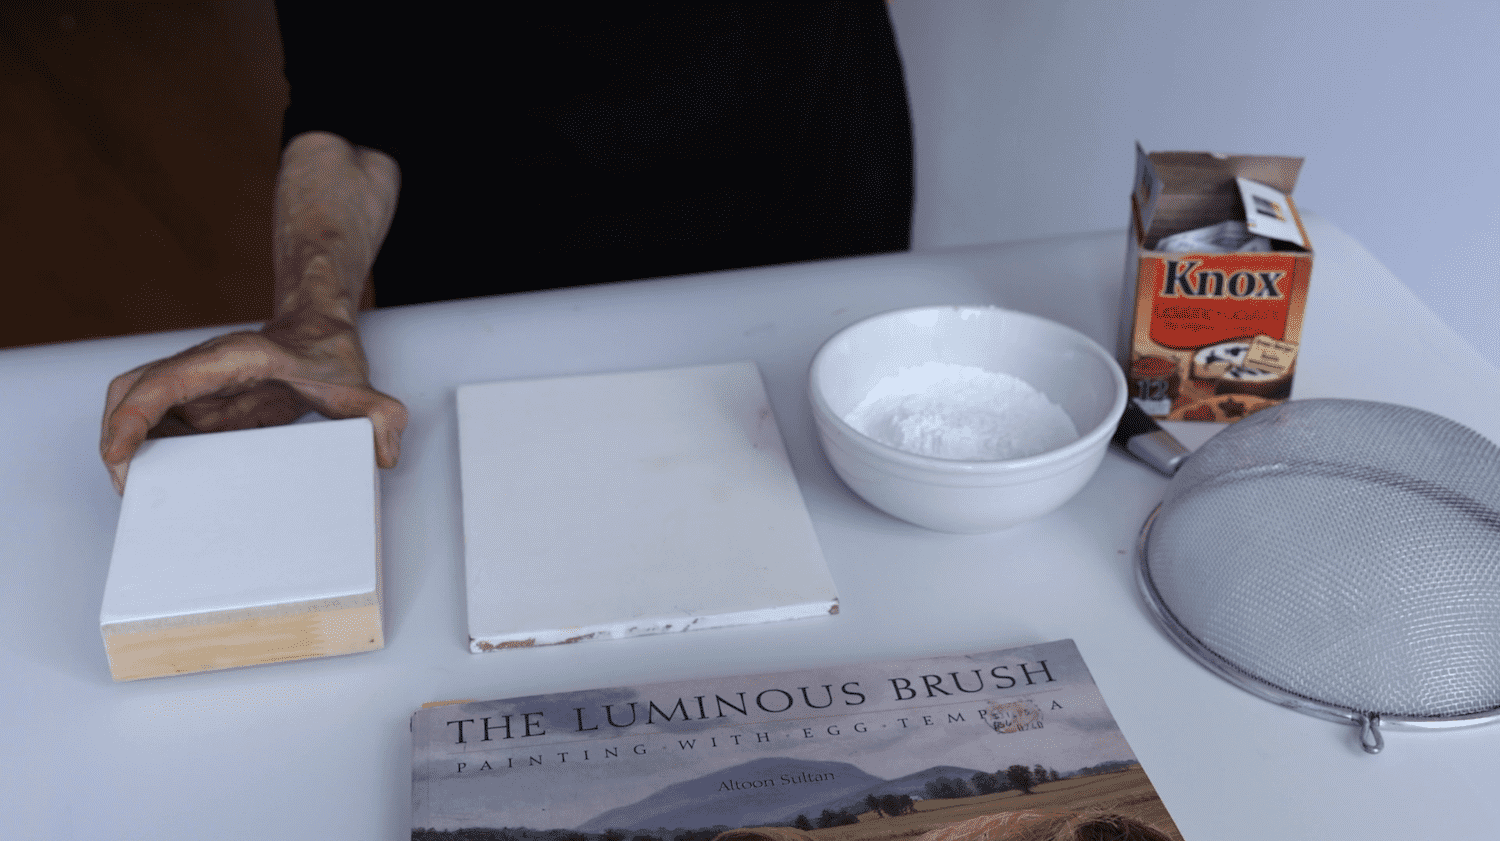
Supports: Your egg tempera painting will need a smooth support to paint on that wont warp over time. I would suggest preparing several panels at once to save time. Here you see a solid wooden support (not plywood) and an untempered Masonite board (avoid tempered boards whose treated surfaces might cause gesso or paint to peel).
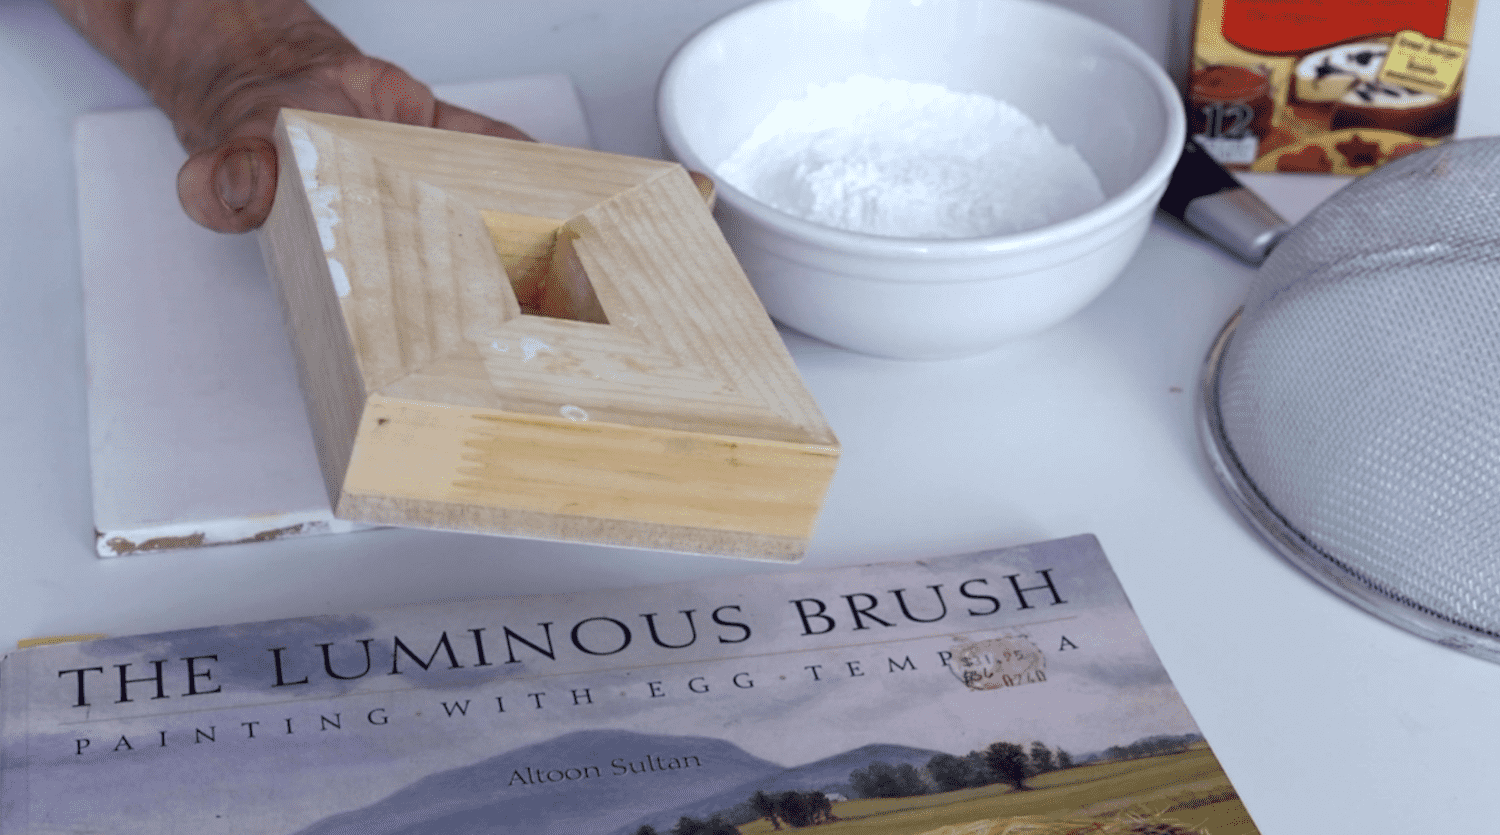
Cradling: As you can see, in the back of the support, the wooden support is “cradled” to resist warping.
for more detailed instruction see Altoon Sultan’s “The Luminous Brush” which she has generously made available free here >
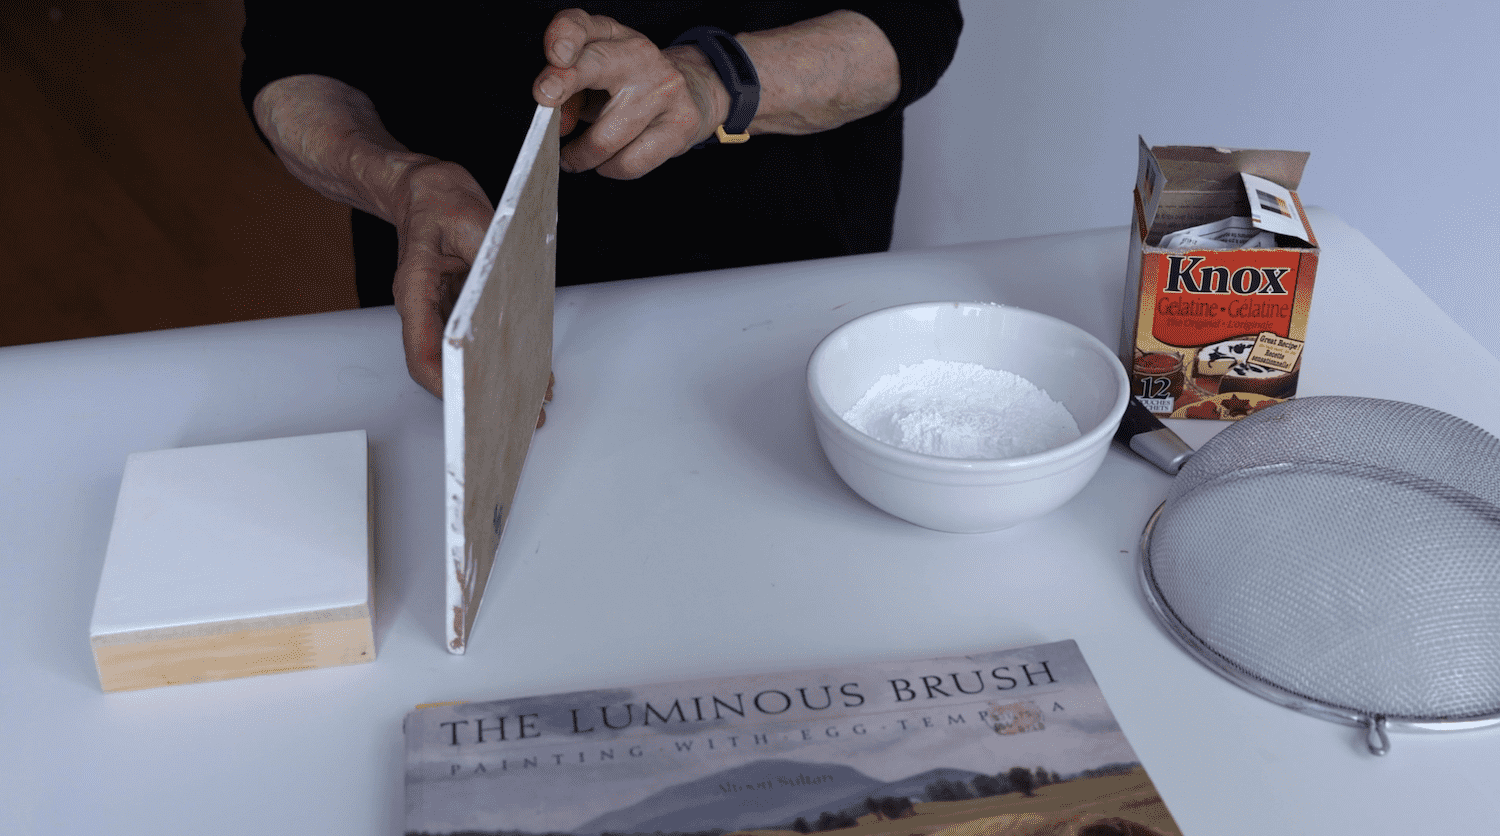
Using Masonite Board:
An untempered Masonite board will resist warping provided it isn’t too large.
(For larger sizes a Masonite board can also be cradled using a wooden frame glued to the back.)
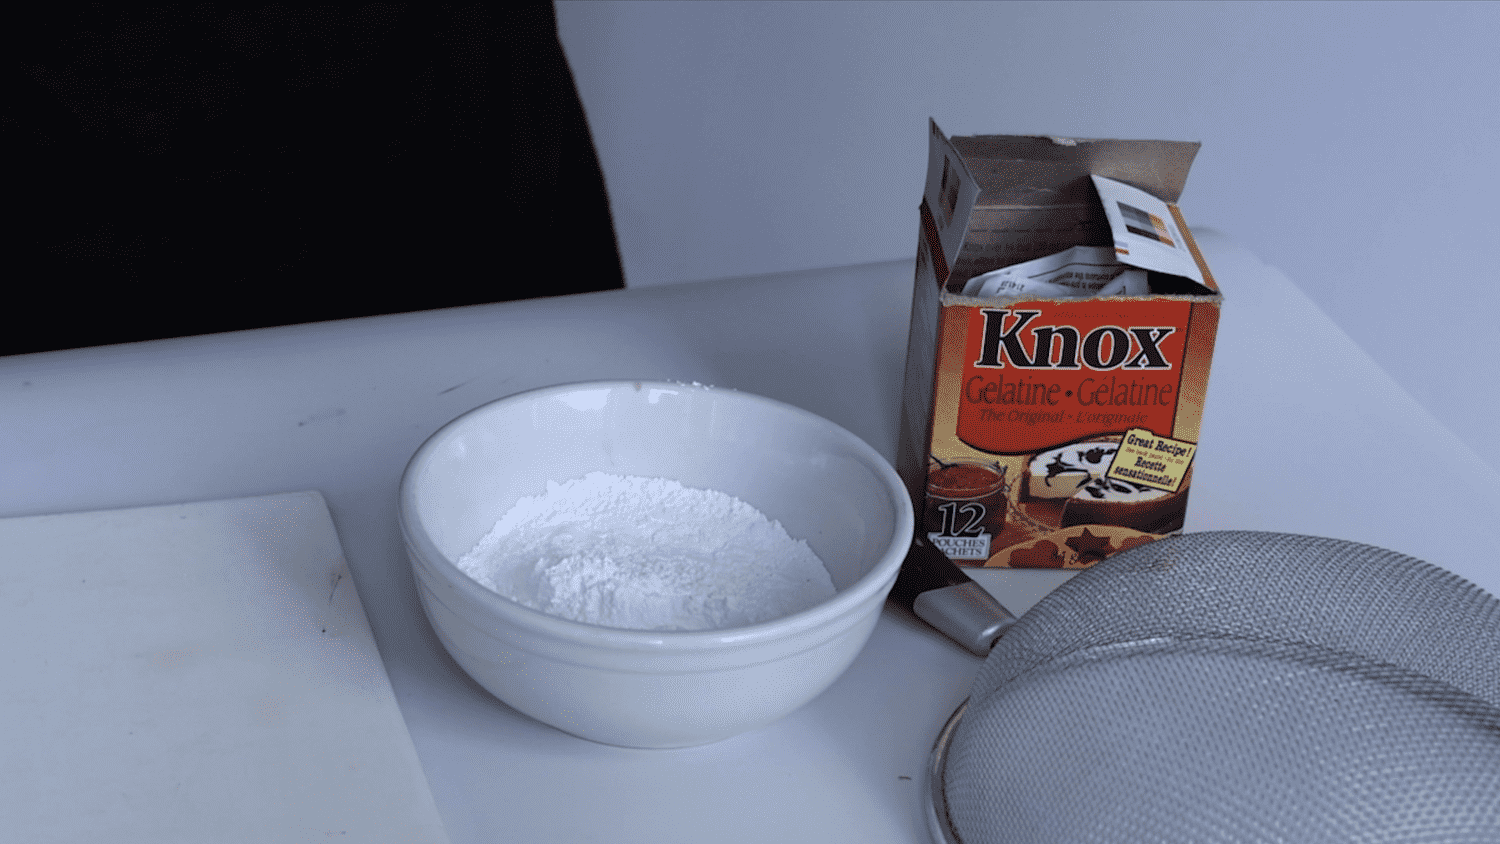
The boards are sealed and gessoed with a combination of glue and chalk whiting (seen in the bowl) and Knox Gelatin. Traditionally, artists would use a Rabbit Skin glue which can still be purchased at some art stores but the Knox gelatin works as well and is readily available at grocery stores.
Make your Sizing (glue/sealant):
In the top part of a double boiler add 1 ounce of gelatin to 2 cups of cold water and let sit 15 minutes. In the bottom part of a double boiler heat water to a gentle simmer. Place the water and gelatin over-top. Heat until the gelatin becomes clear and stir gently with a brush to be sure it is well mixed.
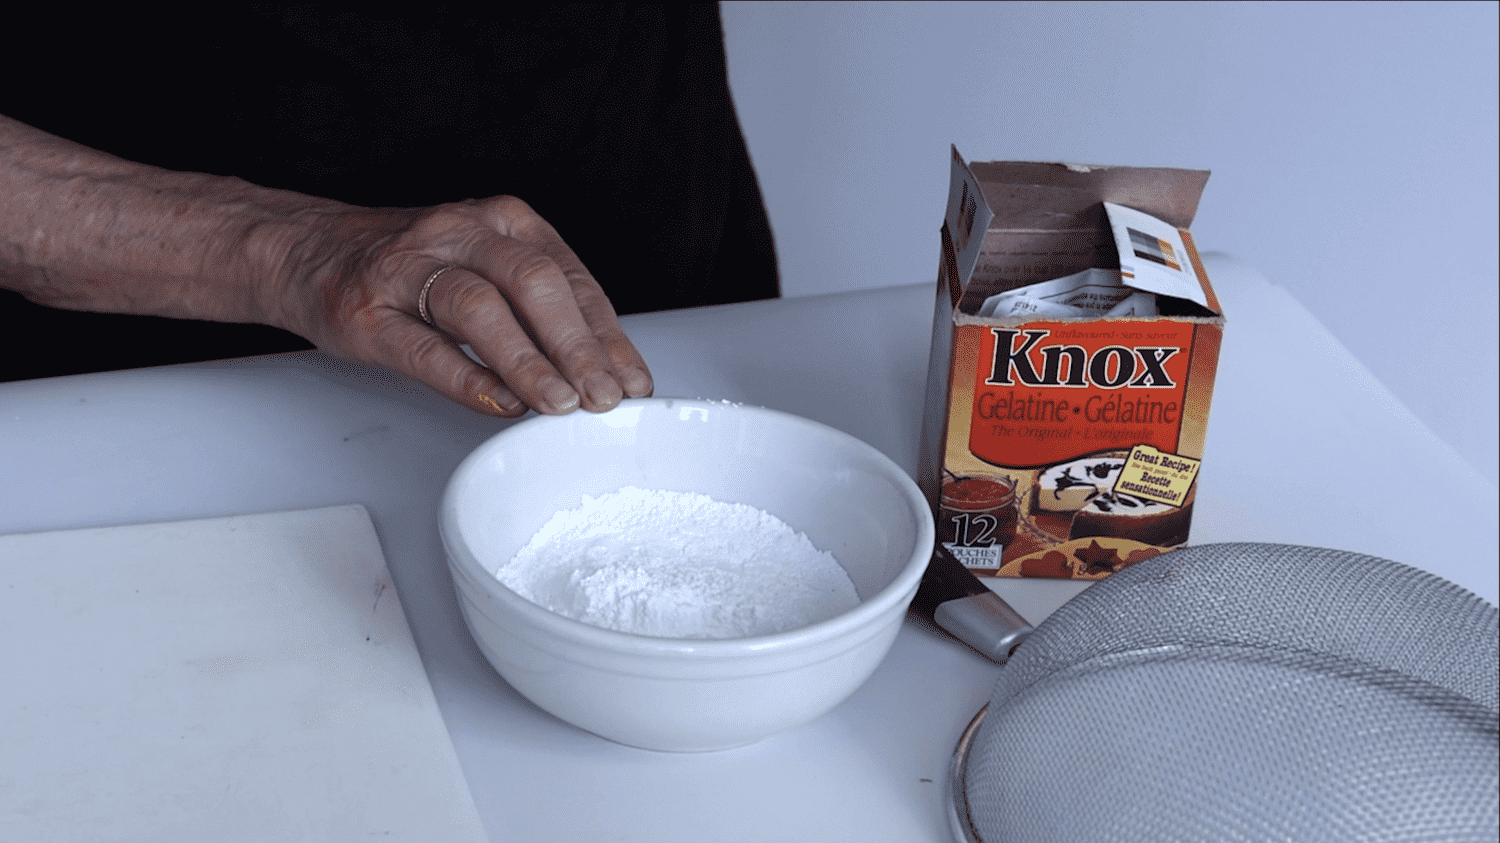
Sizing the boards: Remove the double boiler from heat but keep the gelatin mix (now an effective glue or sealant) above the hot water to keep the glue warm. Brush the warm glue over the boards. If using larger Masonite boards, seal both sides.
Making the gesso: Make another batch of glue. For each 1 cup of your glue (it should still be warm but not hot) slowly and evenly sift in 1 1/2 cups of whiting. Be sure to use the sifter to avoid lumps, then gently stir for a smooth consistency. If it’s lumpy you can strain it through cheesecloth.
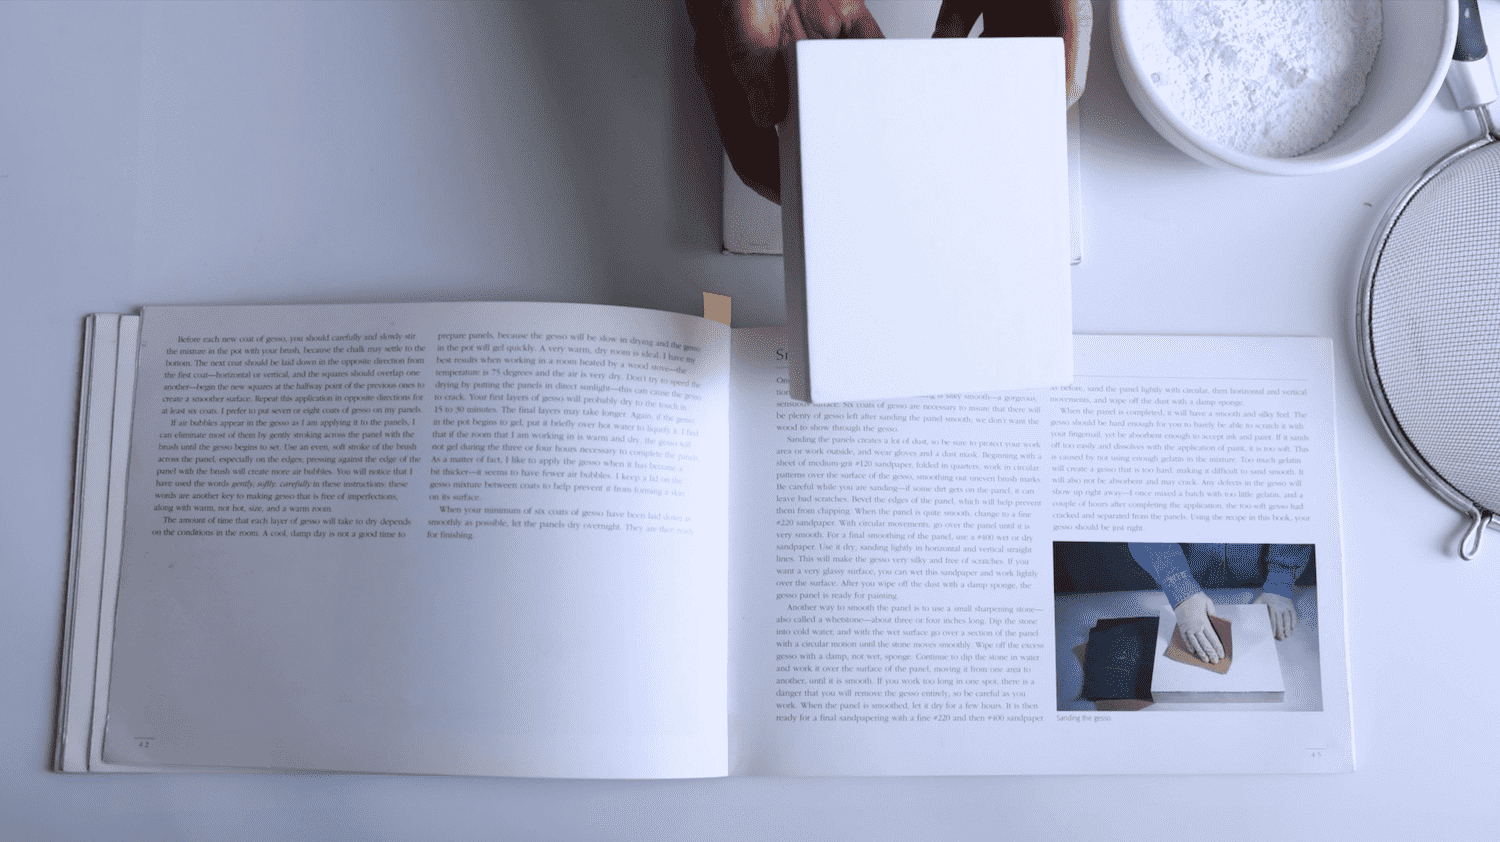
Applying the gesso:
Apply the gesso in layers (minimum 6 coats).
Apply the glue with a brush, brushing first vertically and then smoothing with your brush horizontally.
Once a layer has dried completely, sand it and then apply another layer.
The final coat should result in an extremely smooth surface.
2 Transferring the image to your support
With a board ready you will have the option of beginning with the transfer of a light sketch of the image you plan to paint to the board or creating a more tradition under-painting. The “Hidden Children” series was created without under-painting. For this step you will need a rough sketch of your planned painting on a sheet of white paper slightly larger than your support panel, a medium light gray dry pastel, a Mahl stick (you can use a sturdy paint brush handle), tape, and a ball point pen. If you are going to try a traditional under-painting you will also want black ink, a think flexible brush and a palette.
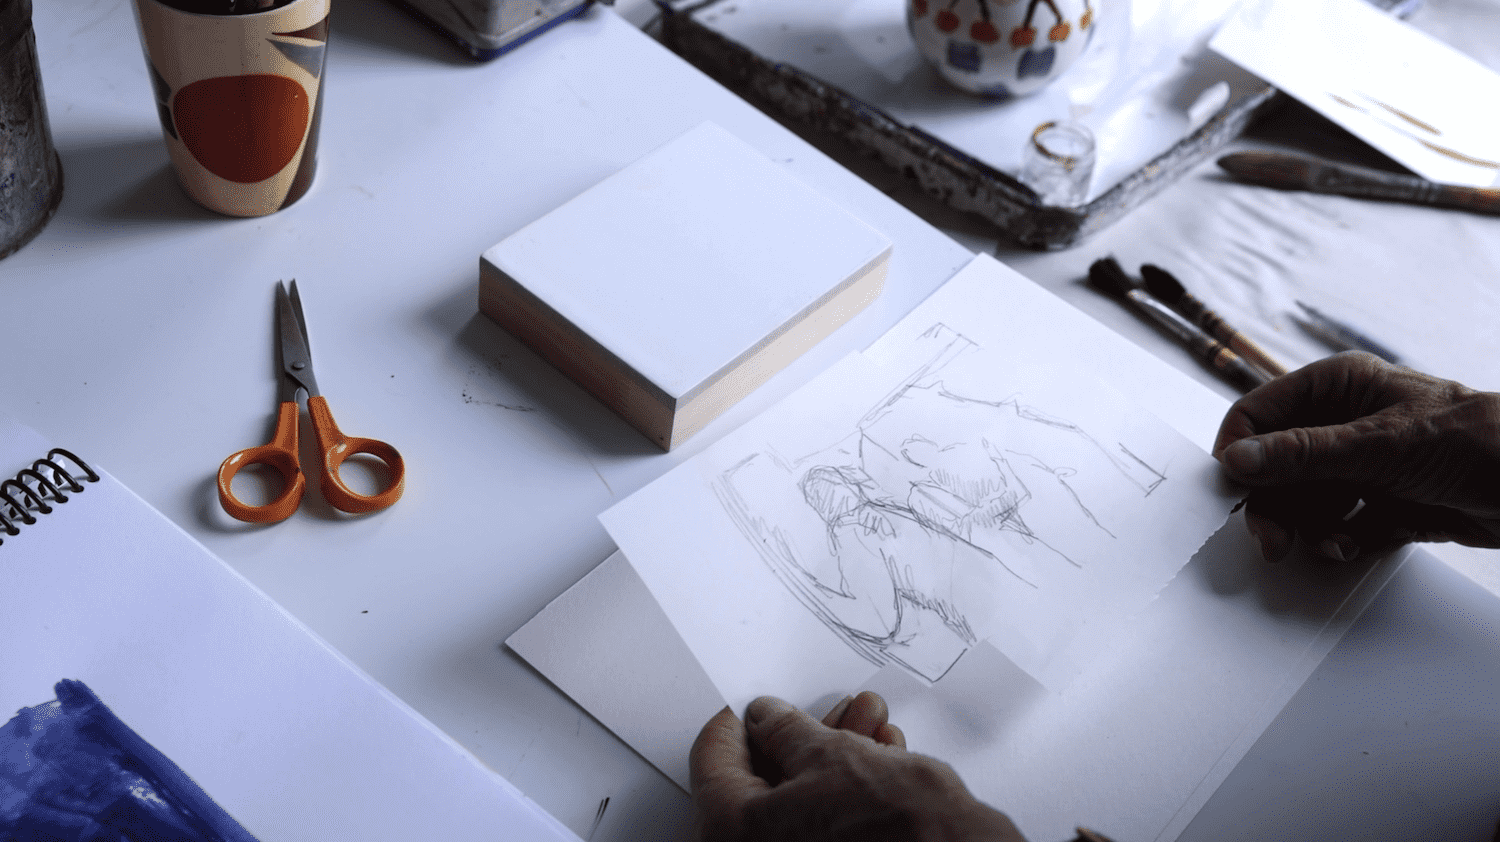
Prepare a Sketch: on a sheet of paper larger than your prepared board. outline the board and then prepare a sketch of your imagery within that outline, that highlights it’s key elements. Be sure it fits exactly.
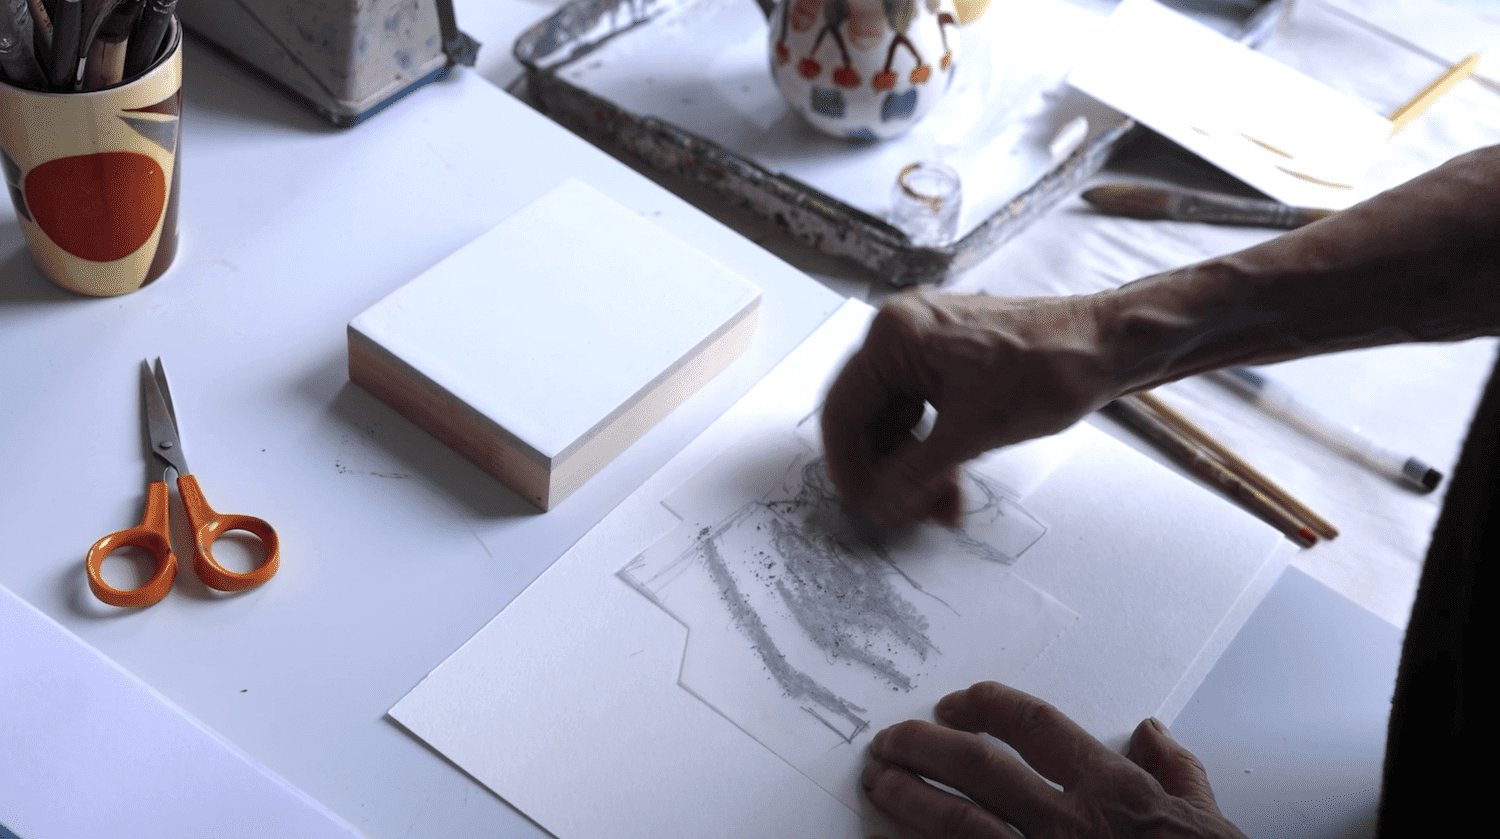
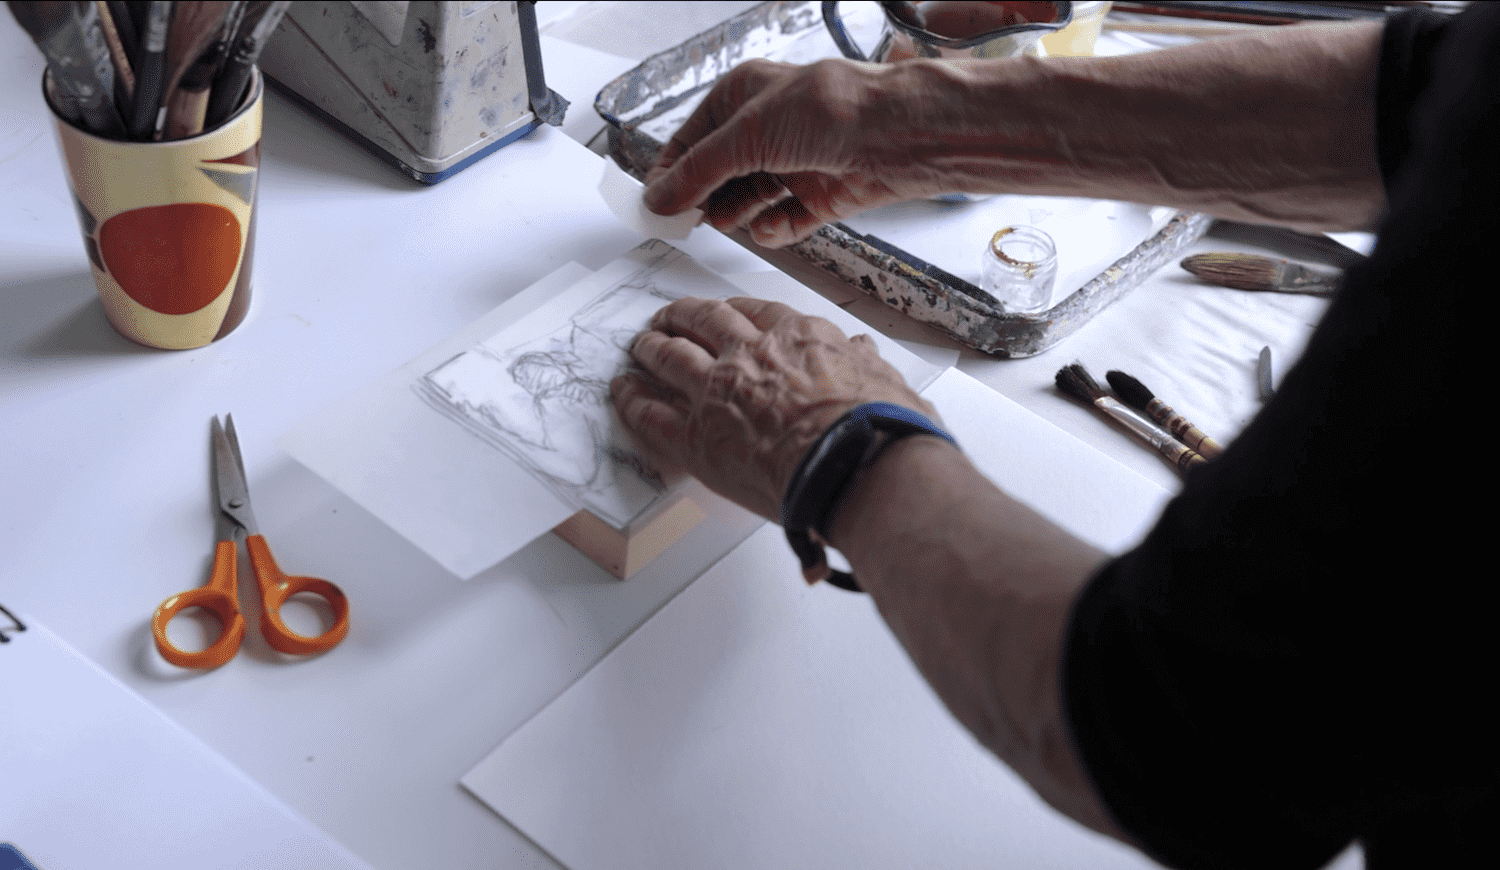
Tape the Sketch to the Board:
Carefully tape the pastel side of the sketch to the board so that the original sketch faces up.
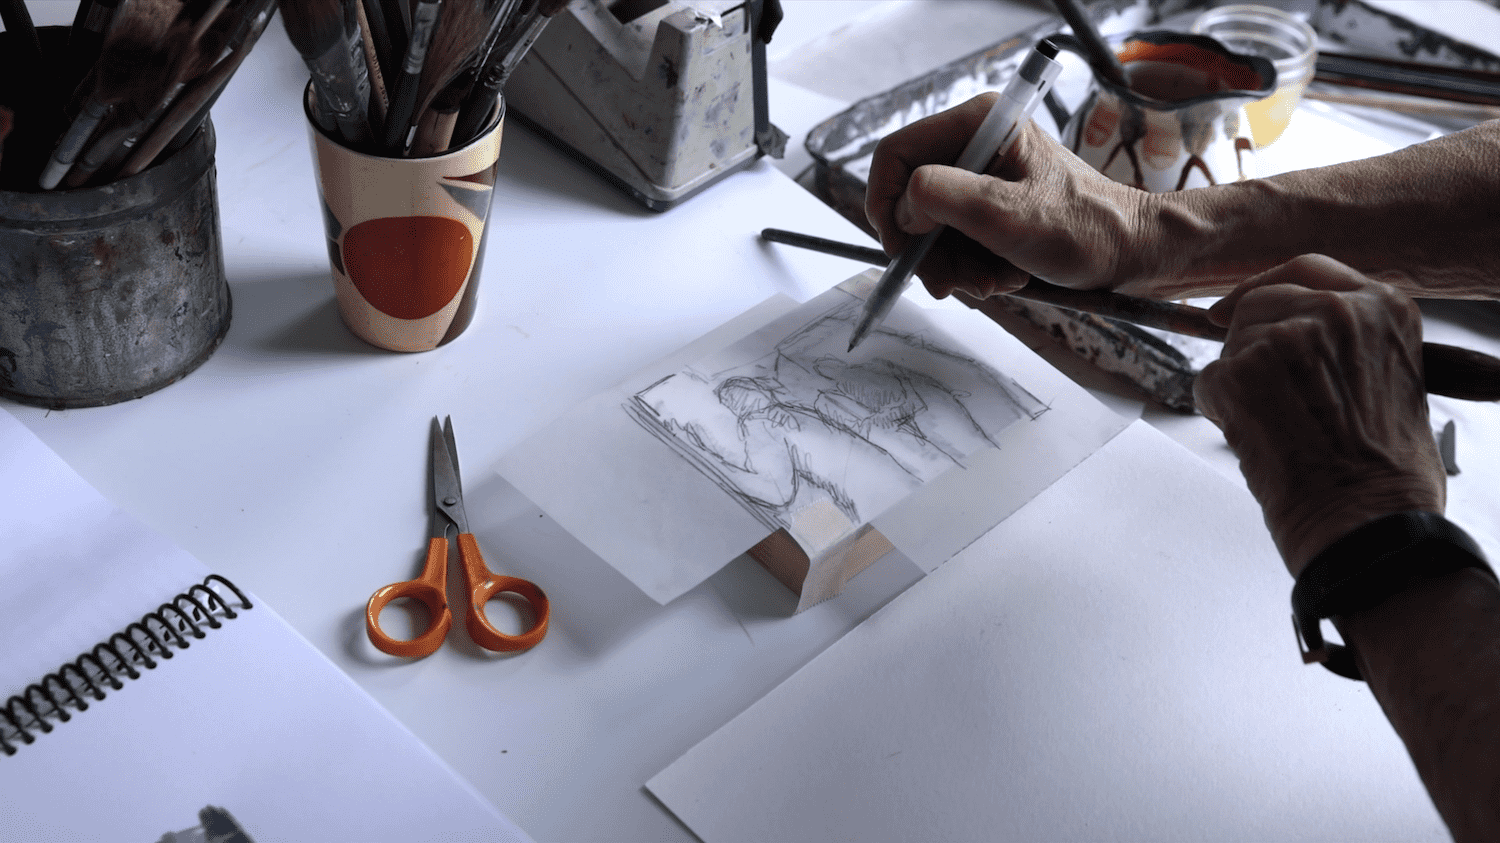
Protect the transfer from smudging: You want to avoid transferring smudges to your board. Using a paintbrush as a Mahl stick to rest your wrist on while you outline your sketch will help prevent unwanted smudges.
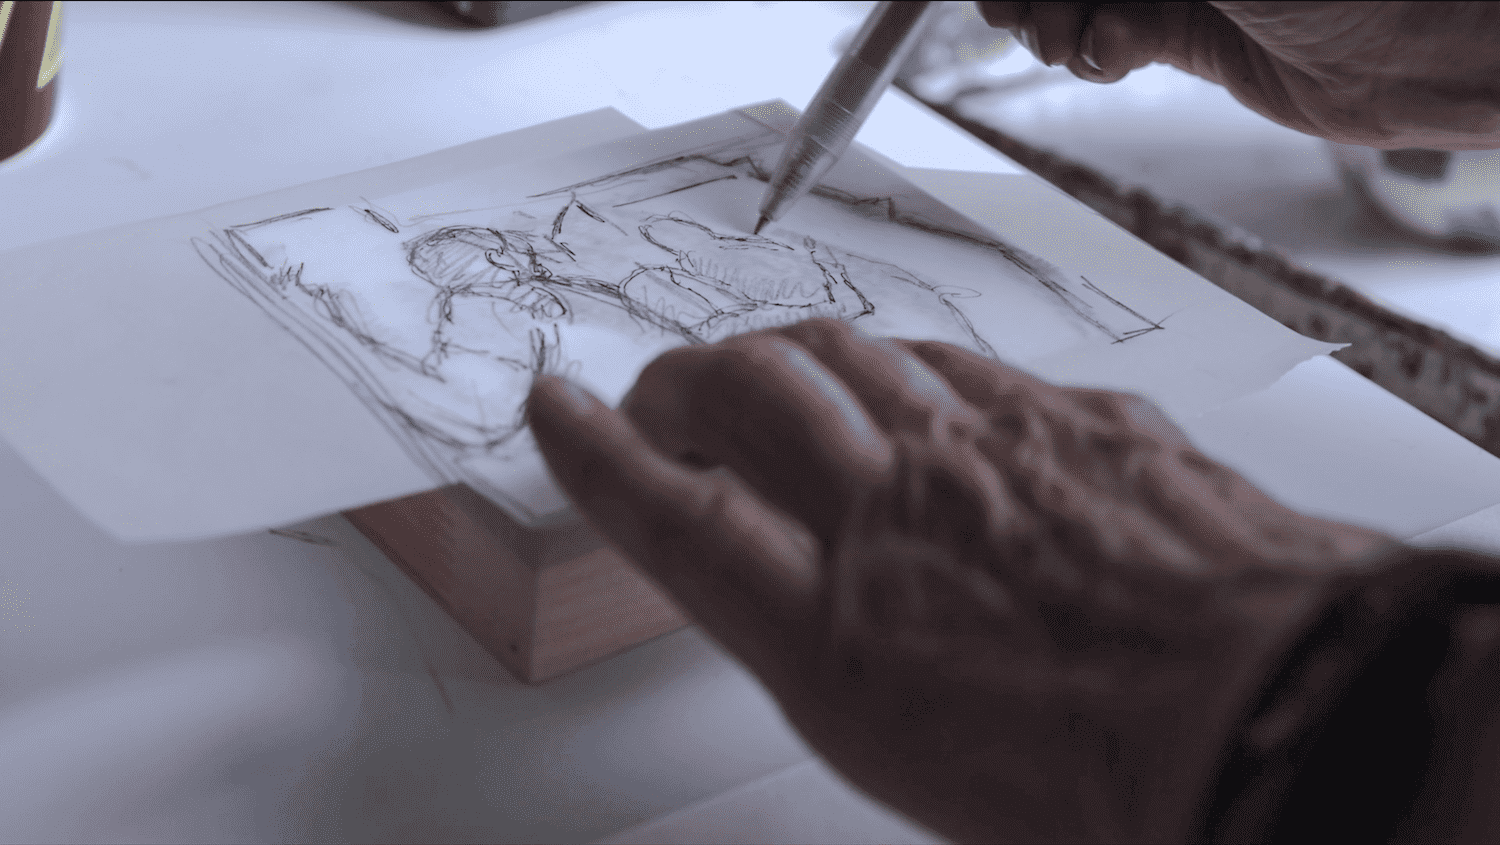
Outlining: Retrace the key elements of your sketch with a ball point. Using a ball point pen will let you see what lines you’ve already gone over. Don’t use anything that will leak through the paper. You should have a look early on, gently lifting a corner of your sketch, to be sure your transfer is working.
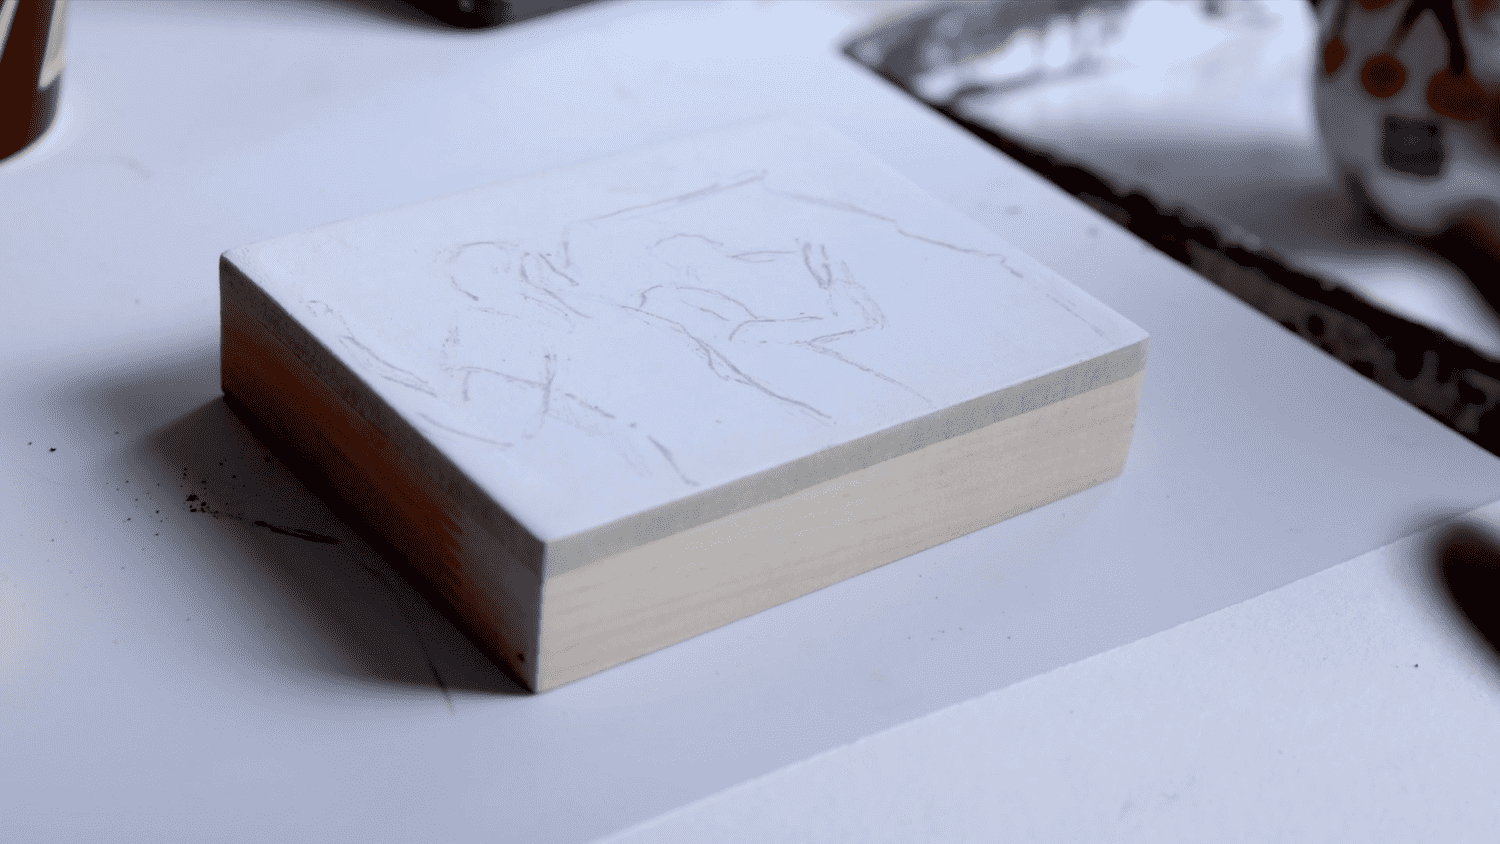
Your transfer is complete:
Remove the paper sketch. Your sketch should now be lightly outlined in grey.
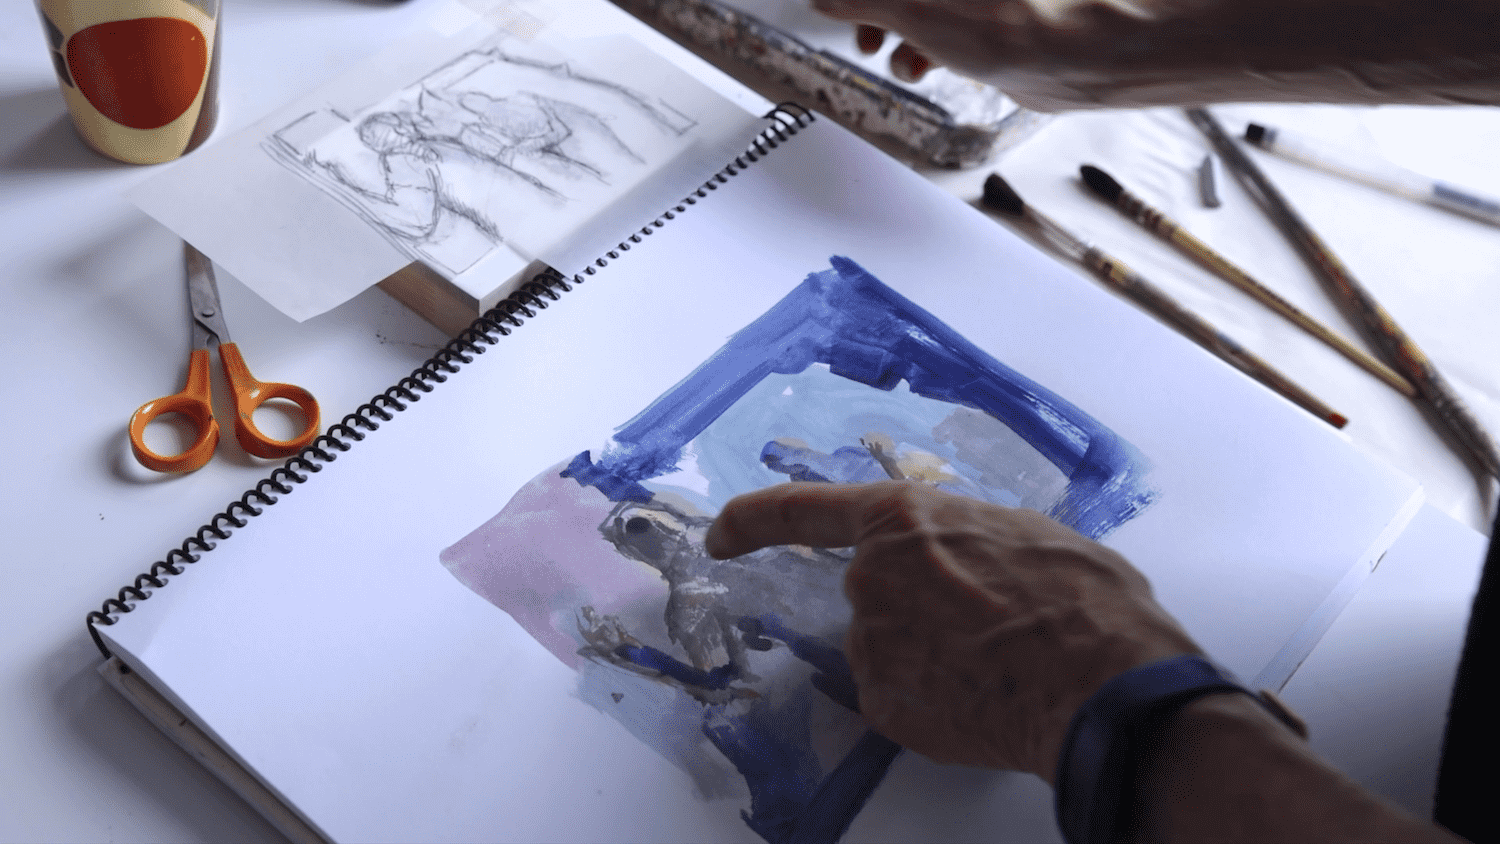
Working from an original watercolour:
I worked with very simple original watercolour sketches for my Hidden Children series. The idea was to find the basic structure and colour of the image. Details emerged in the final painting.
You can work from a rough sketch and then transfer to create your egg tempera painting.
However, the traditional method would be to follow the transfer of your sketch with a more detailed, tonal, under-painting.
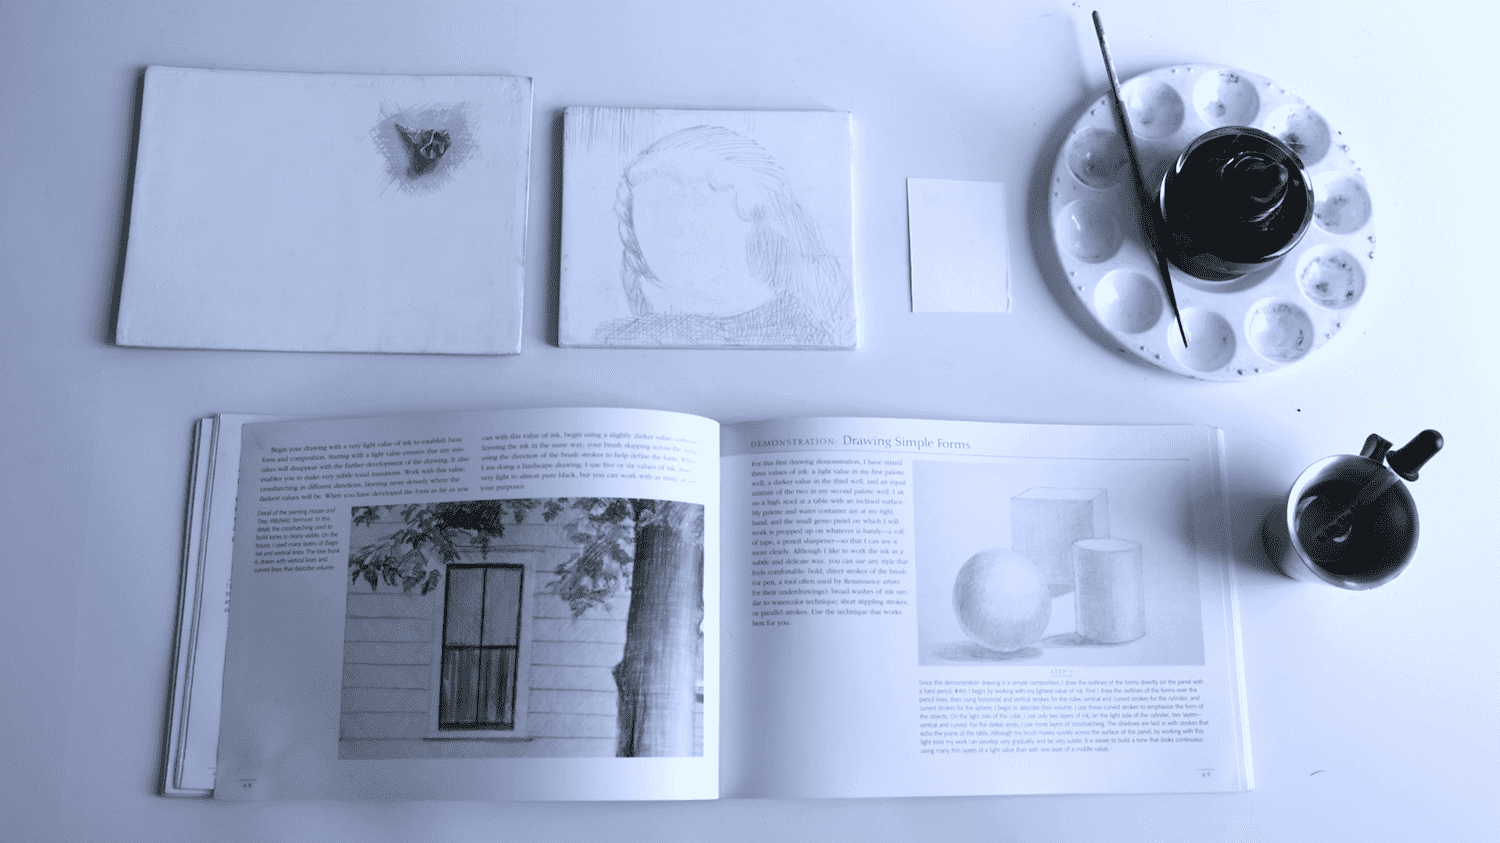
Traditional Under-painting:
It is traditional to begin a tempera painting with a tonal ink under-painting over top of the transferred sketch.
Checking your Supports:
Egg tempera is a fragile medium and will easily. peel away from your support if the support is warped.
Before you begin an under-painting or painted be sure you support hasn’t warped.
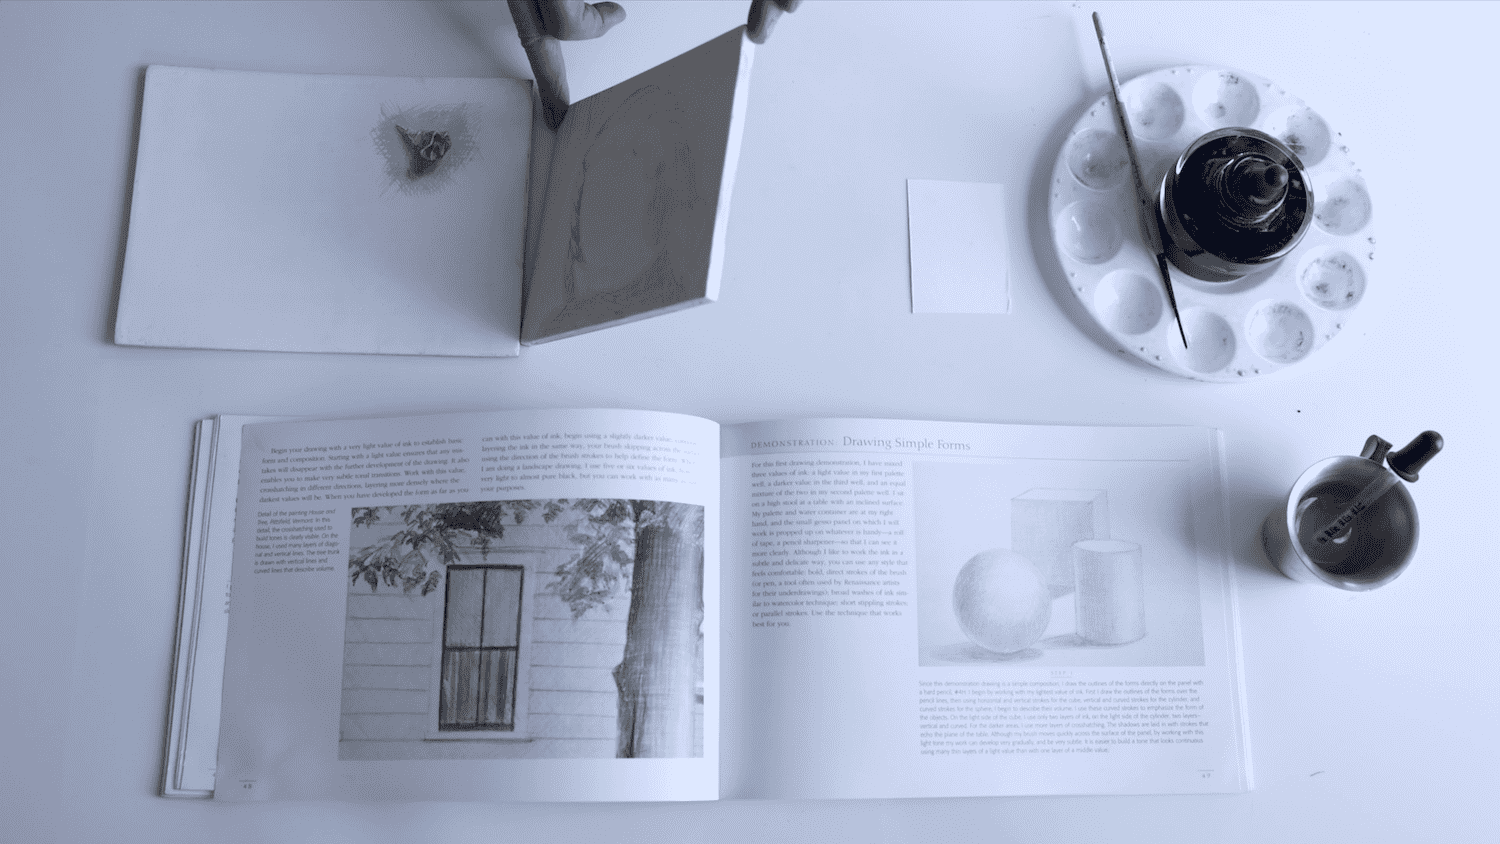
Here you can see a smaller Masonite support that is thick enough that it hasn’t warped.
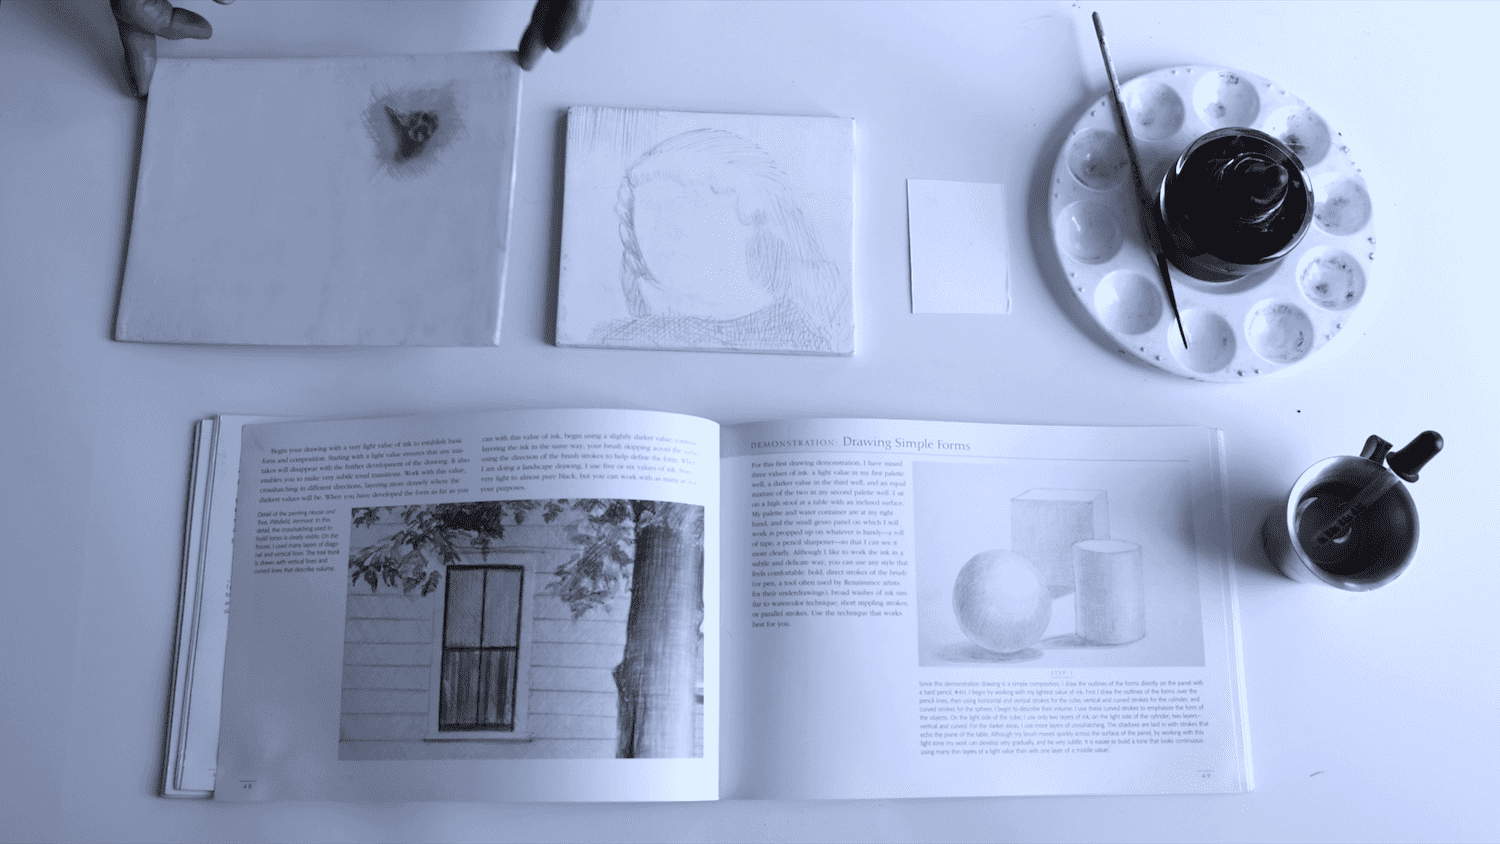
A warped support:
Here you can see that the thinner, slightly larger support has warped. Even at this slightly larger scale the board would probably have benefitted from “cradling.”
Traditional ink under-painting:
Once a rough sketch has been transferred it is traditional to create a more detailed under-painting in ink, working from light to dark using a cross-hatching technique.
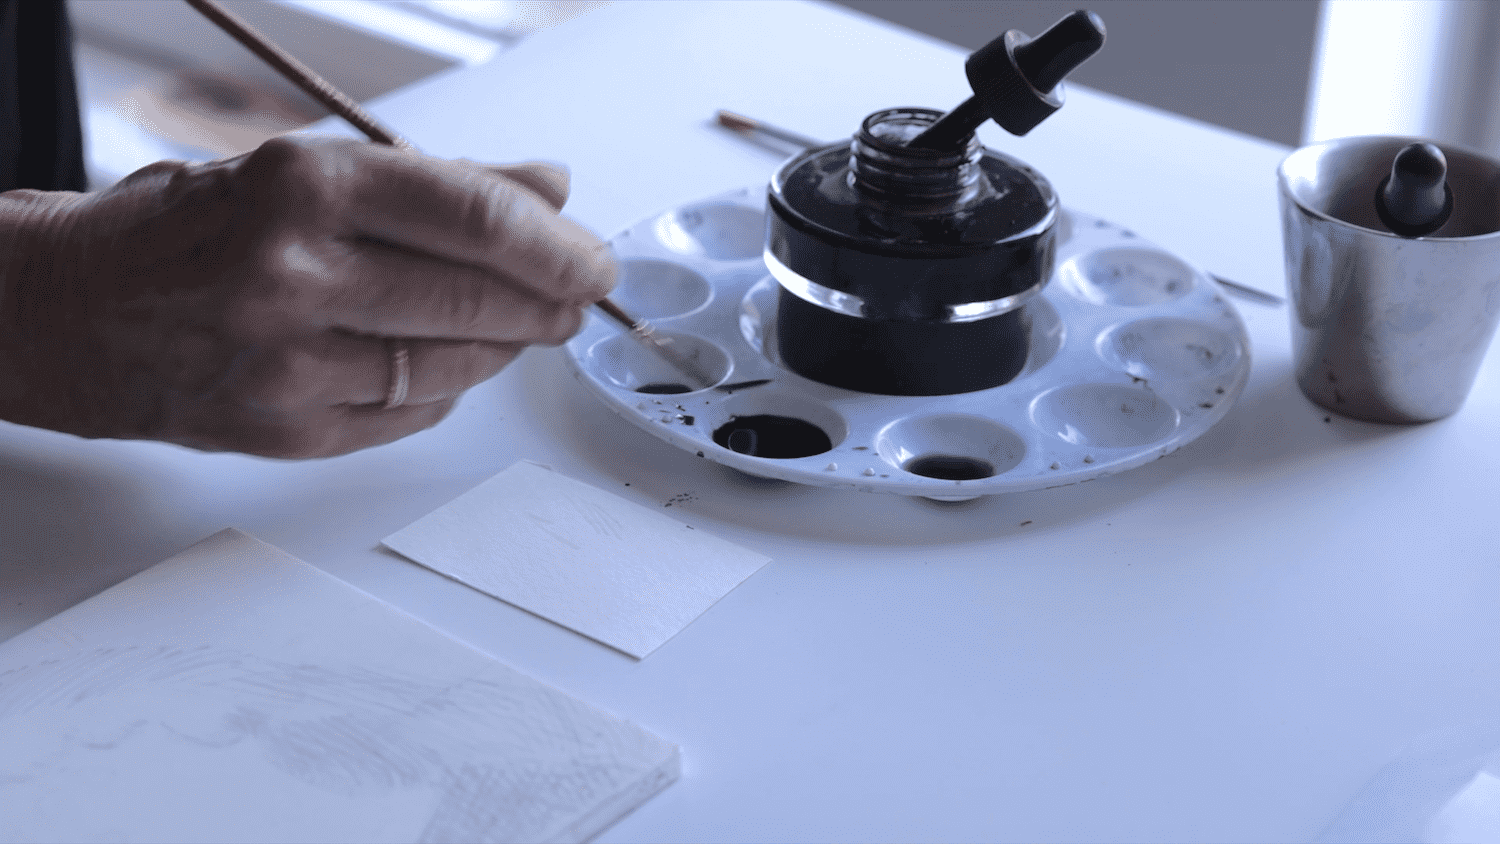
Prepare a palette of ink wells from light to dark.
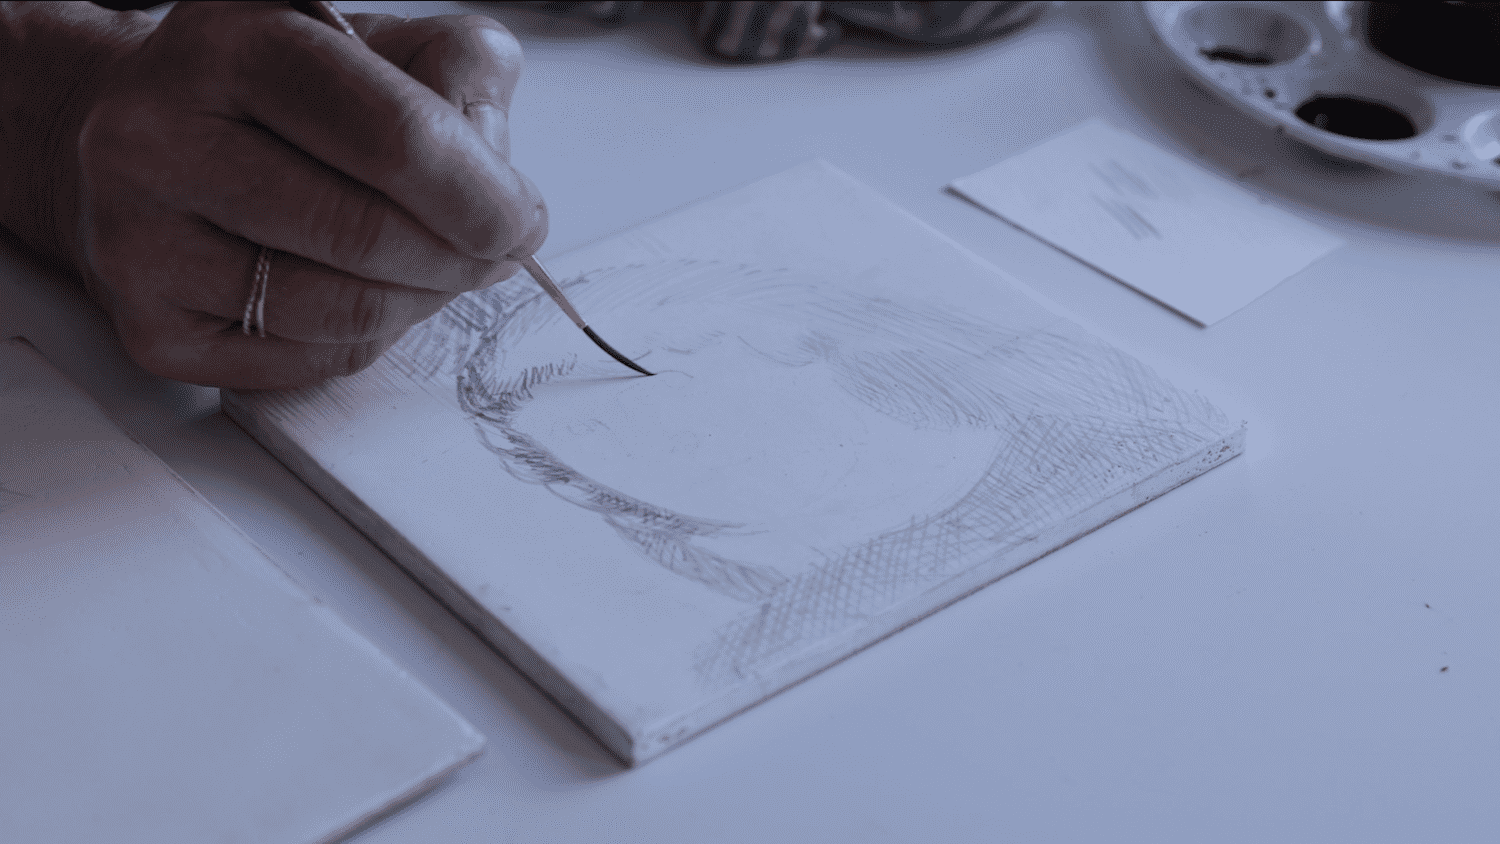
Using a flexible brush, lightly define the transfered lines and working from light to dark, create the volumes of your image, using cross-hatch technique.
3 Preparing the Paint
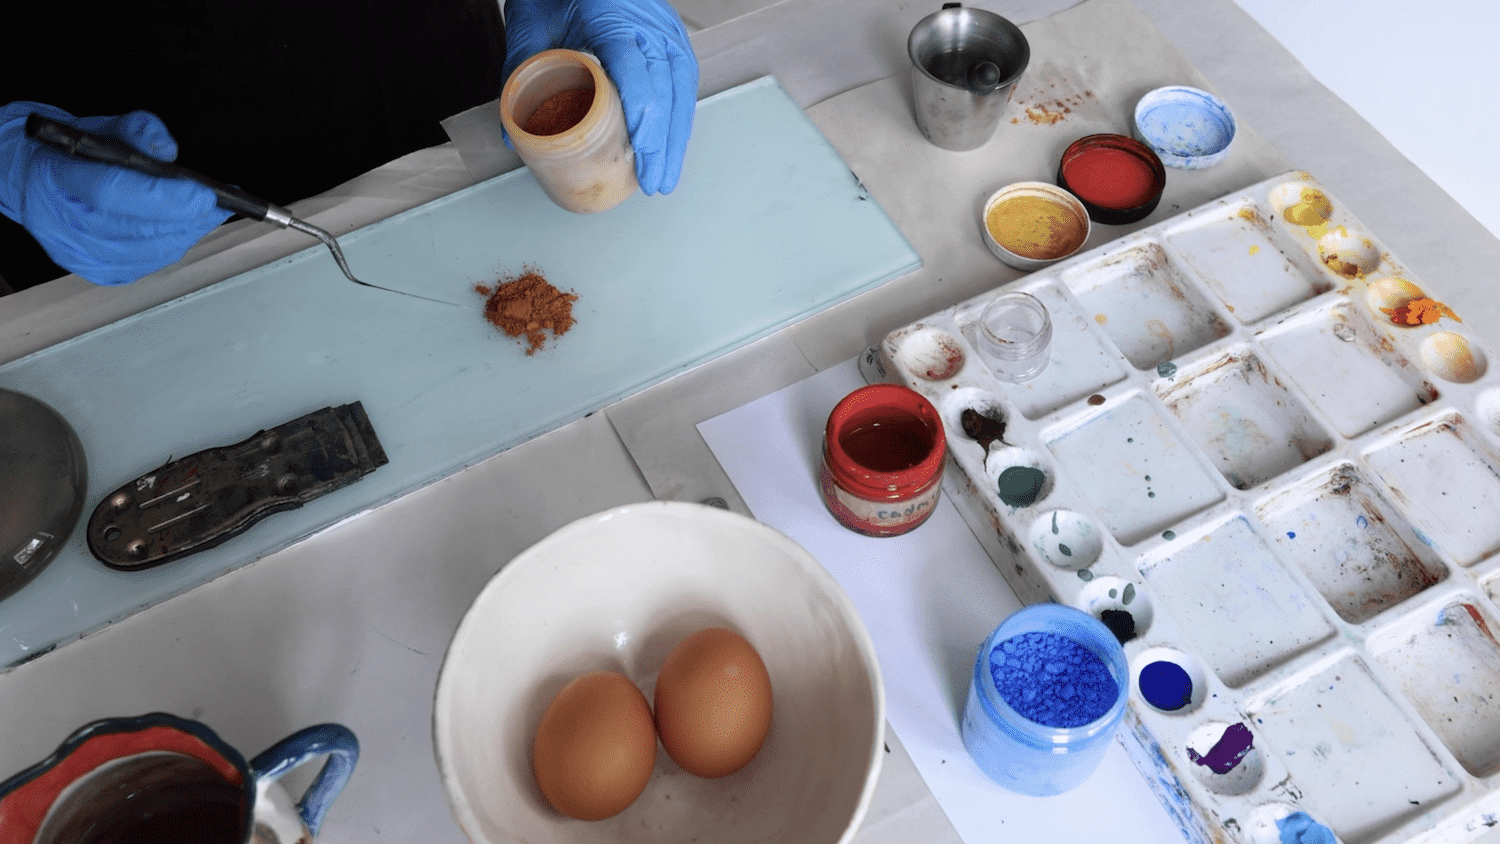
Place Dry pigment on hard surface for grinding:
Don’t use more than you can use quickly. The prepared pigment will spoil over time.
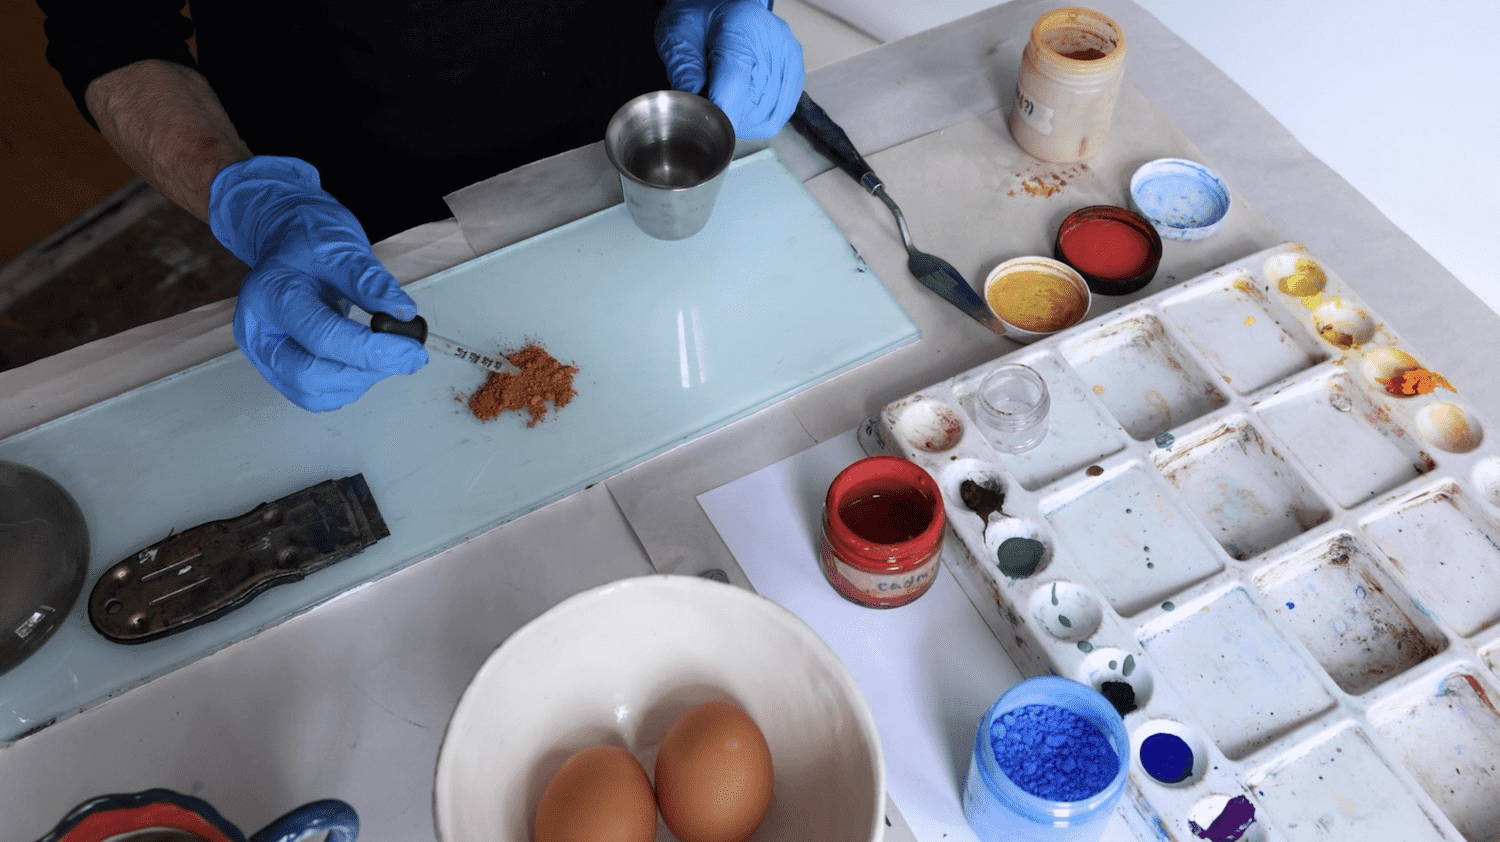
Add Distilled Water:
Use an eyedropper to add a few drops of distilled water. Do not use tap water. The chemicals in the water may interact negatively with the pigment.
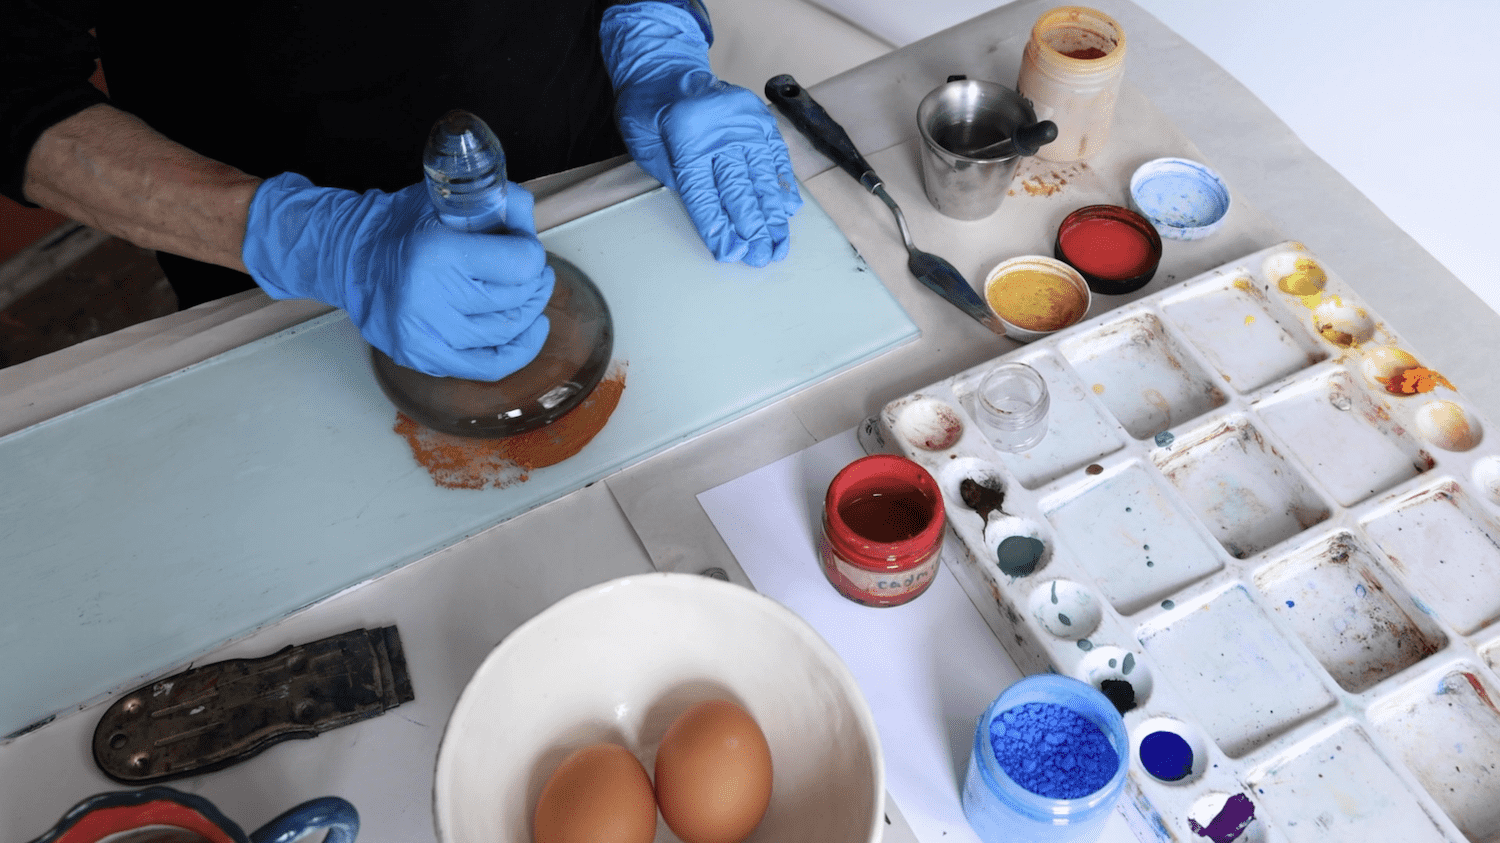
Grind with a mullen:
Use a heavy glass muller to grind the paint powder and the water together to create your paint.
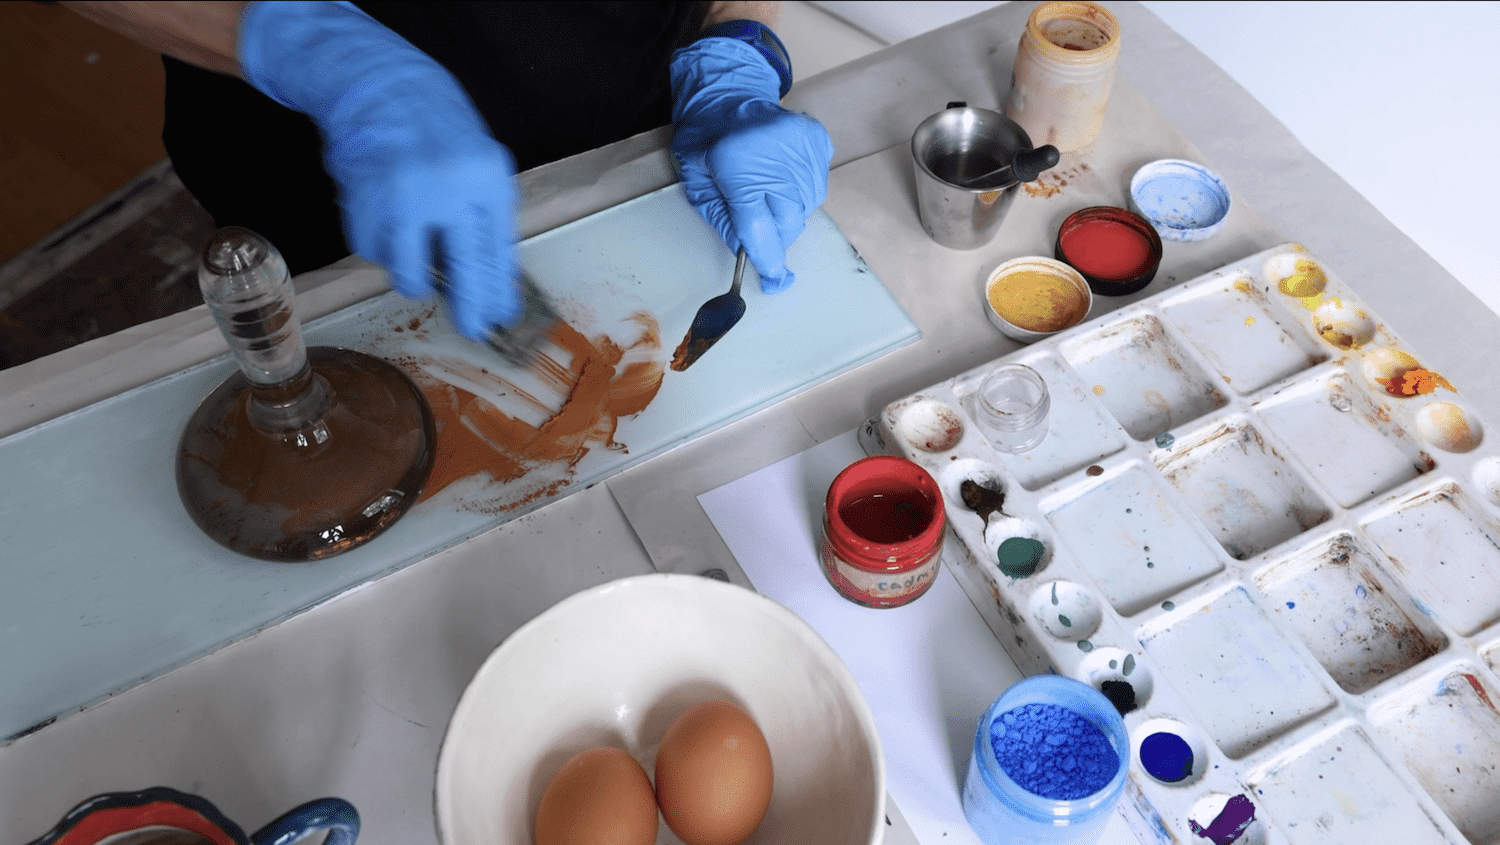
Scrape together the prepared pigment paste:
A palet knife and metal scraper work well to collect the paint off of the hard surface.
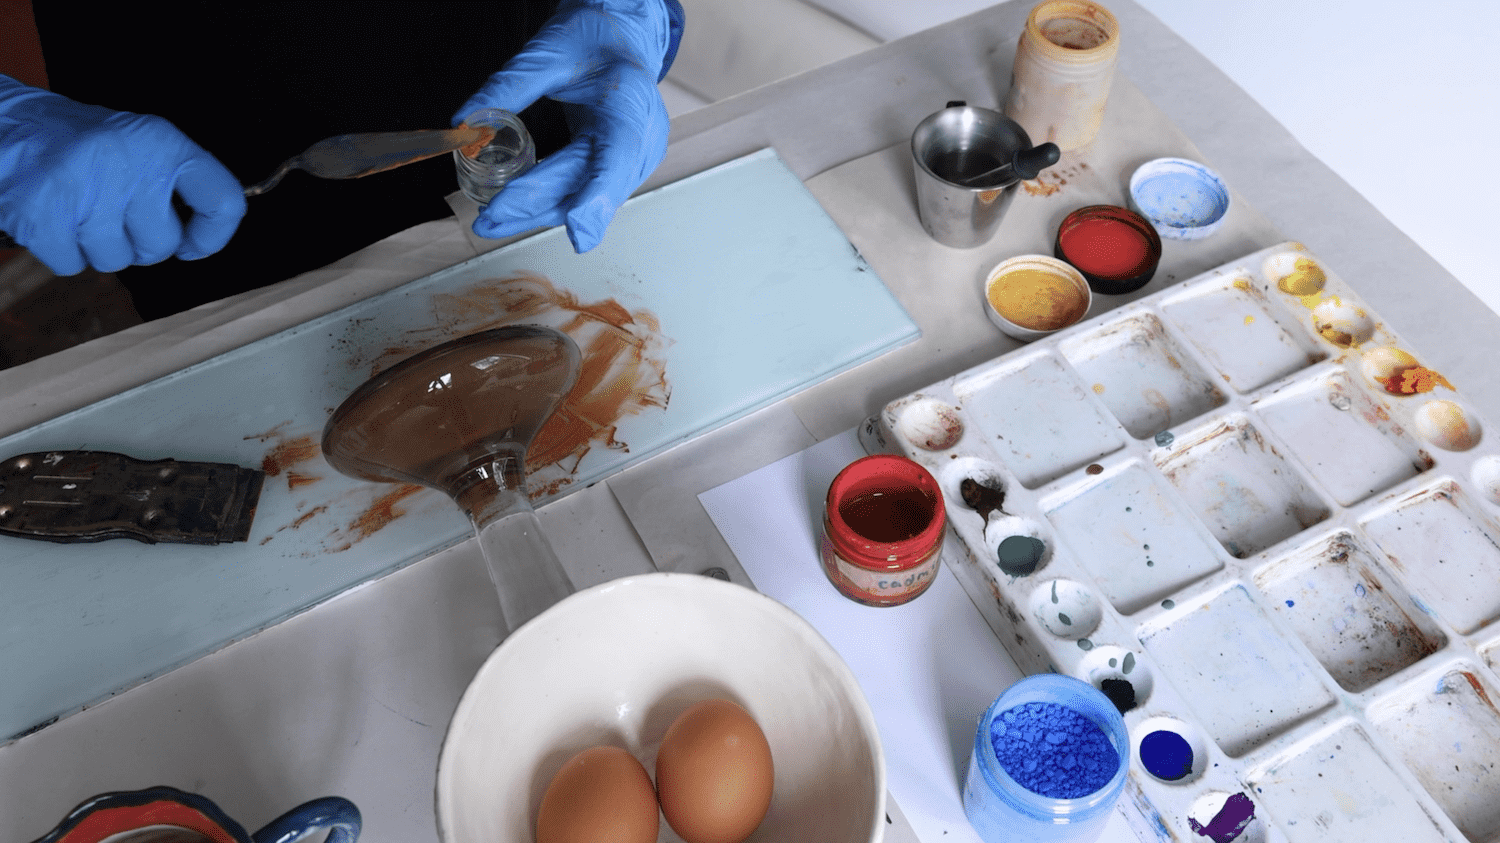
Place the prepared pigment paste in a paint jar for use and storage:
4 Preparing the egg medium
You will need a medium size bowl, a palette knife, a small jar with a lid to contain the egg medium, a small dish of distilled water with an eyedropper, and a fork.
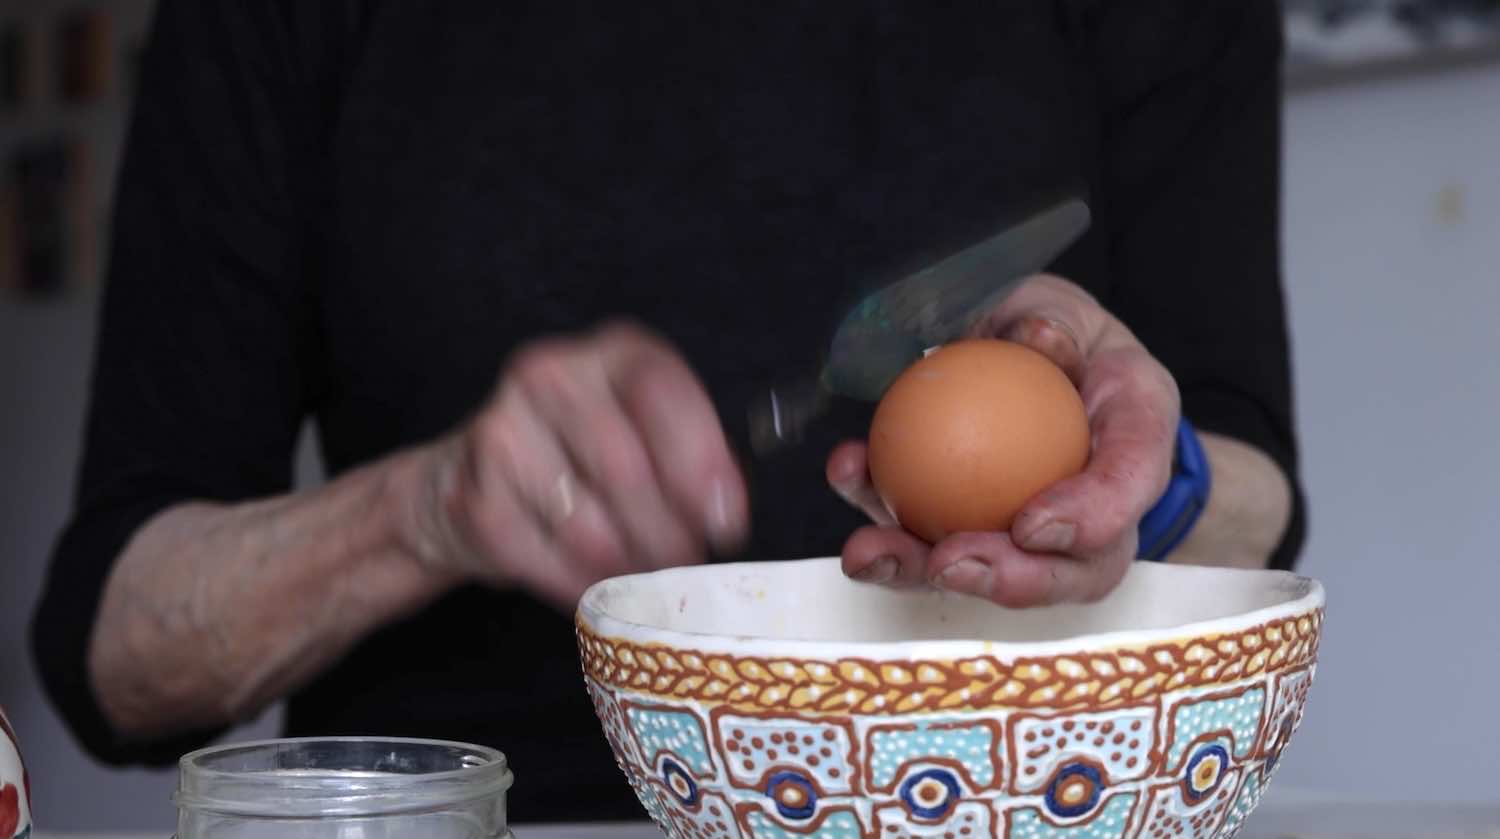
Cracking the Egg
Tap the egg with a quick sharp strike using a clean palette knife.
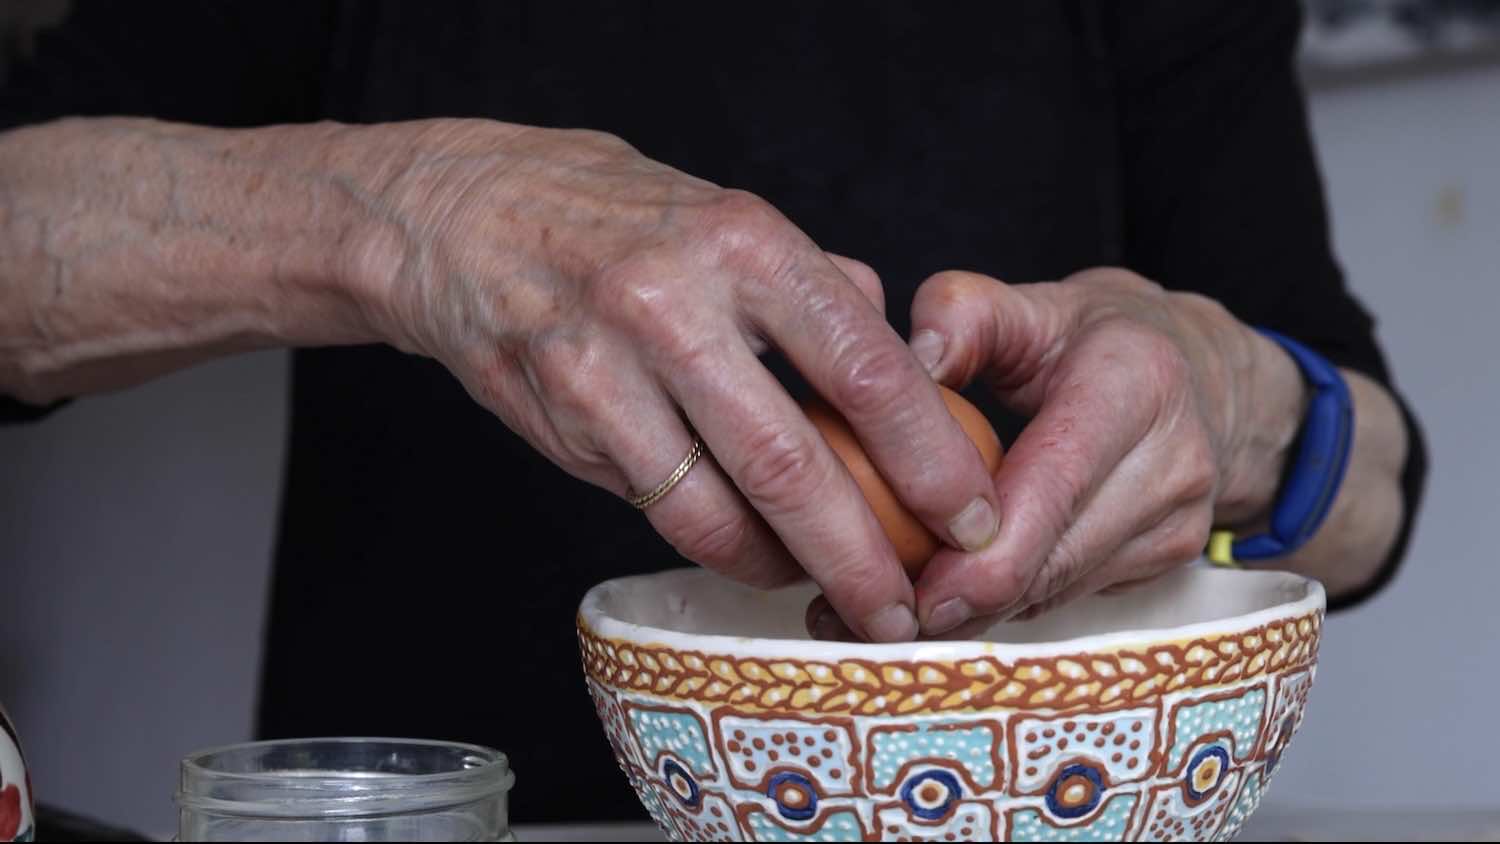
Find the Centre of the crack with the tips of your thumbs.
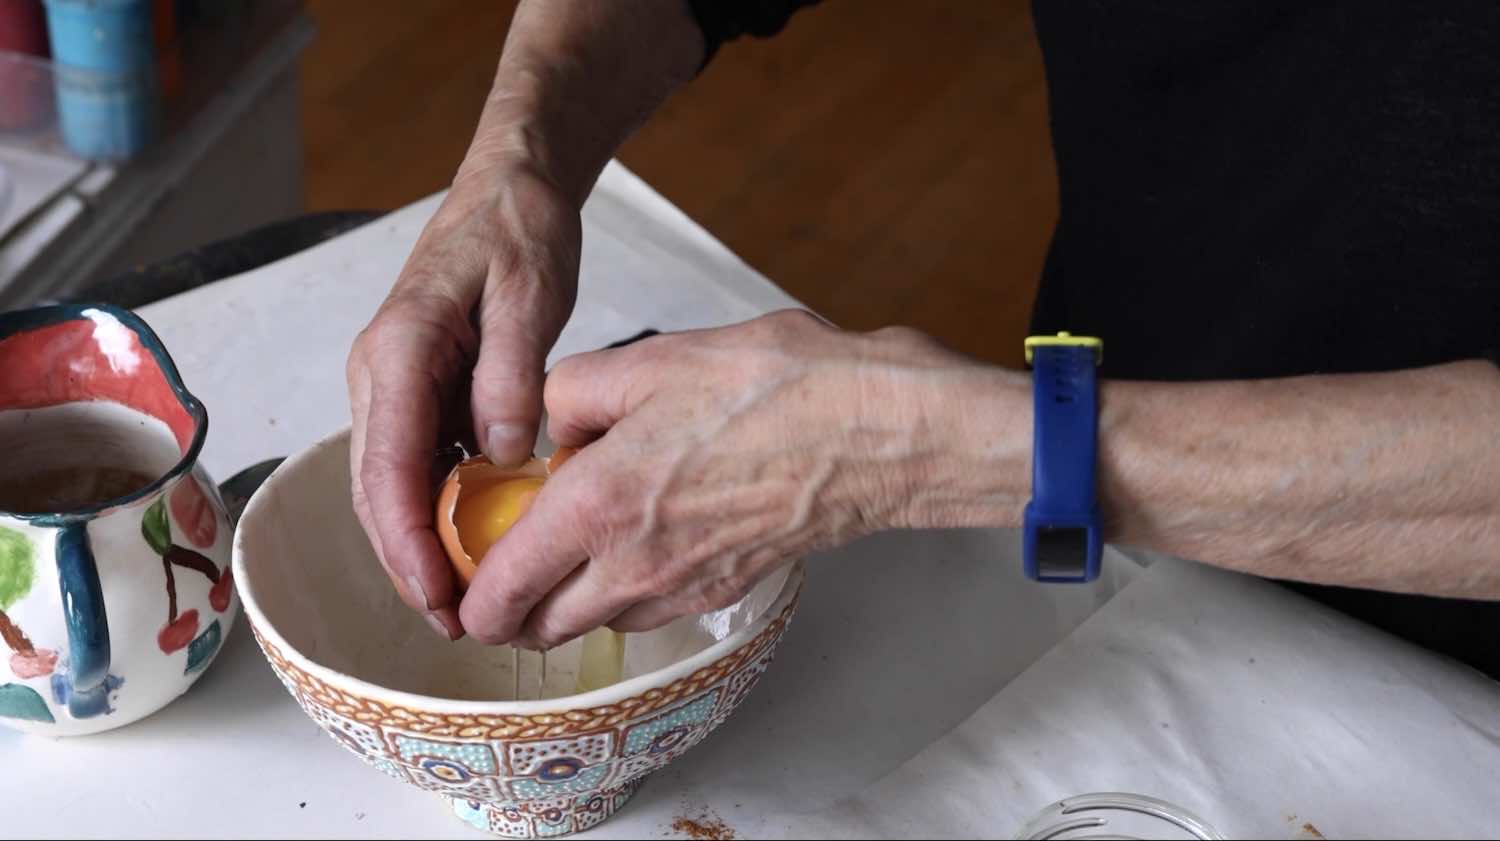
Pull the two halves of the egg shell apart over the bowl.
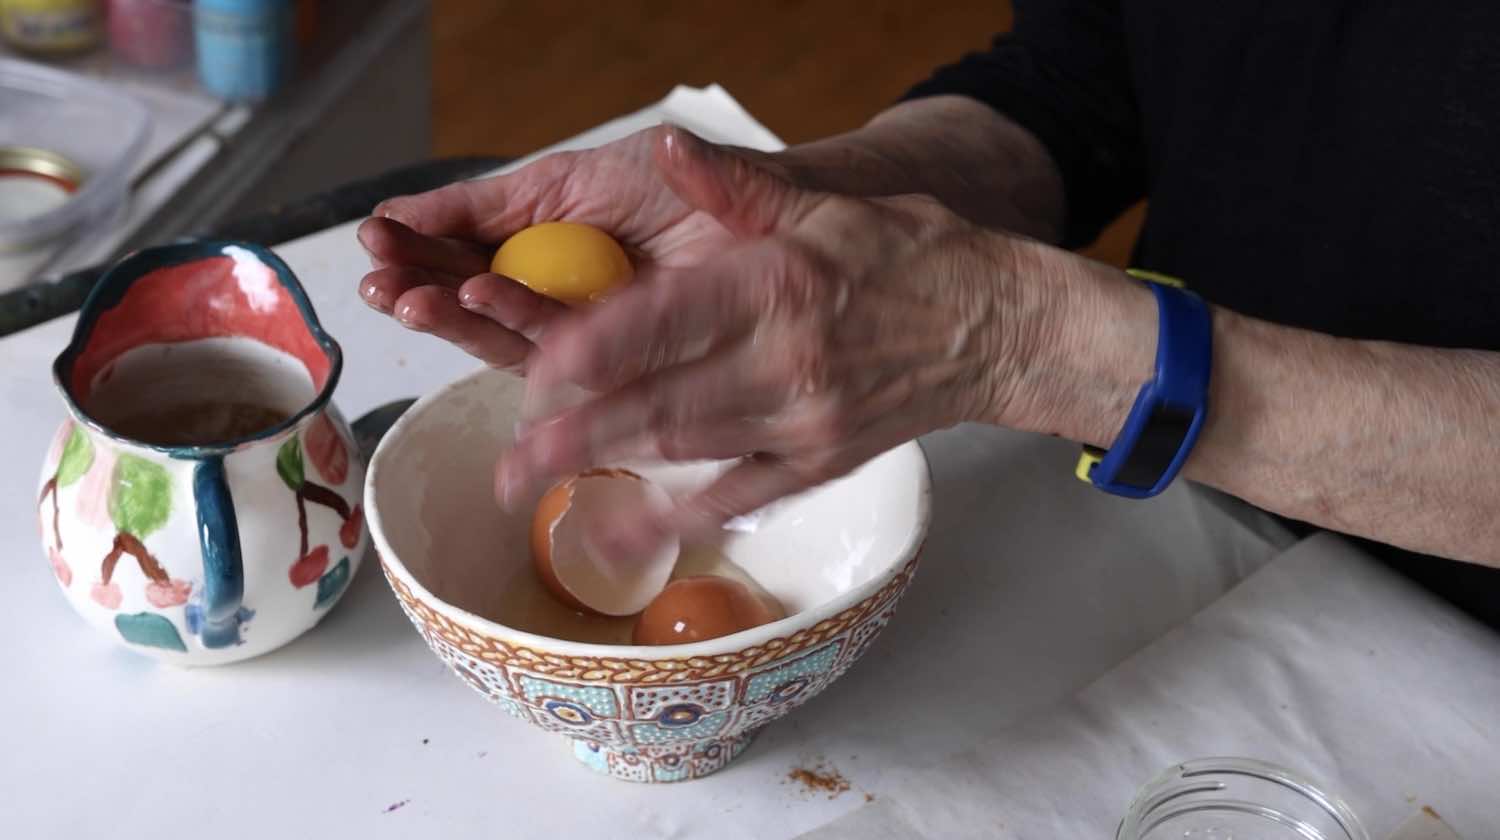
Gently pour the yolk between your palms over the top of the bowl, allowing the white to slip between your fingers until the yolk is almost dry.
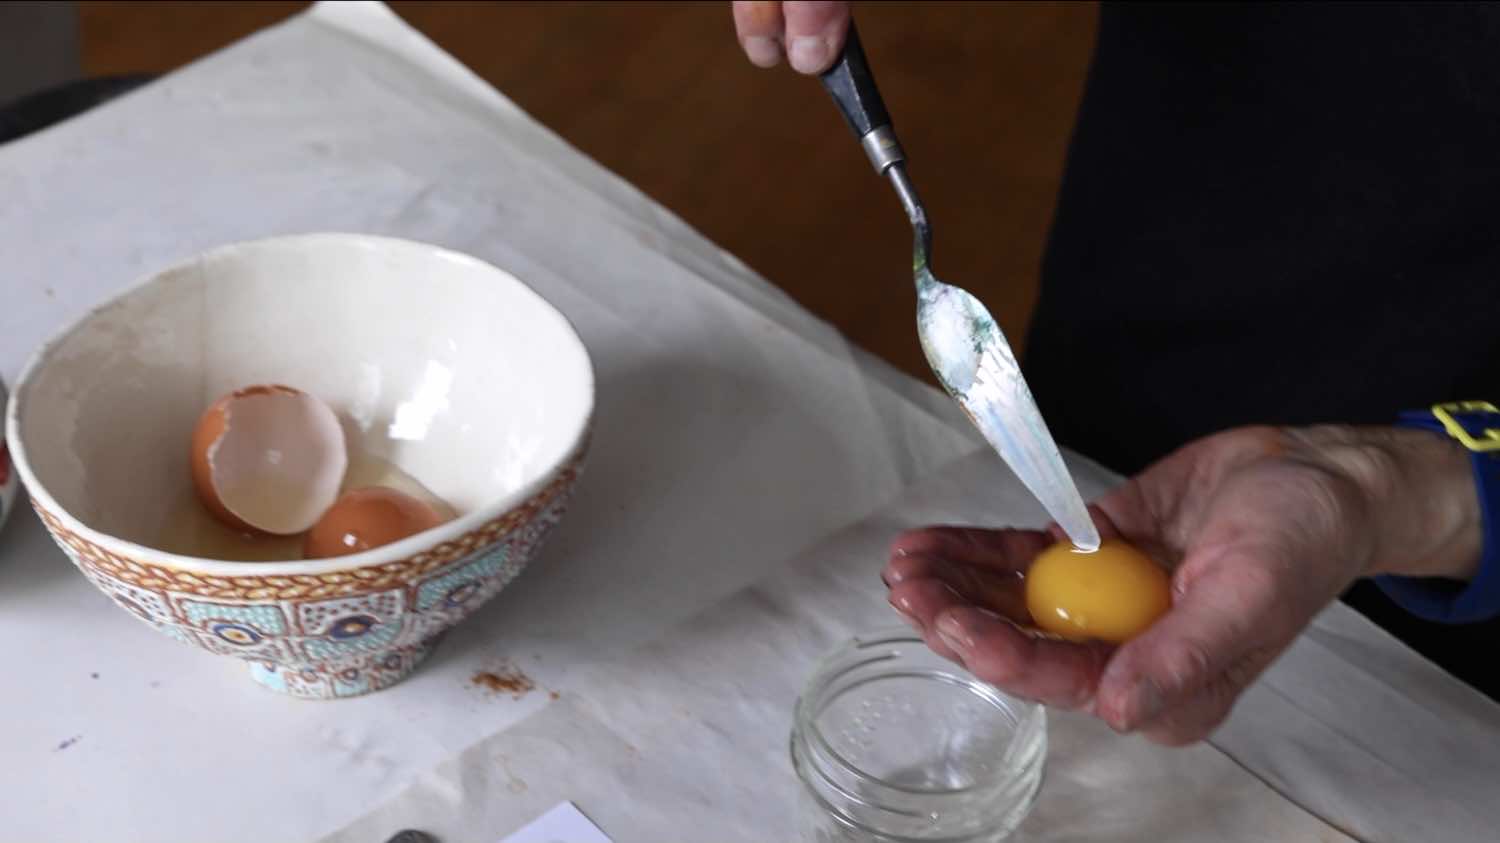
Prick the yolk: With the palette knife, puncture the yolk’s surface.
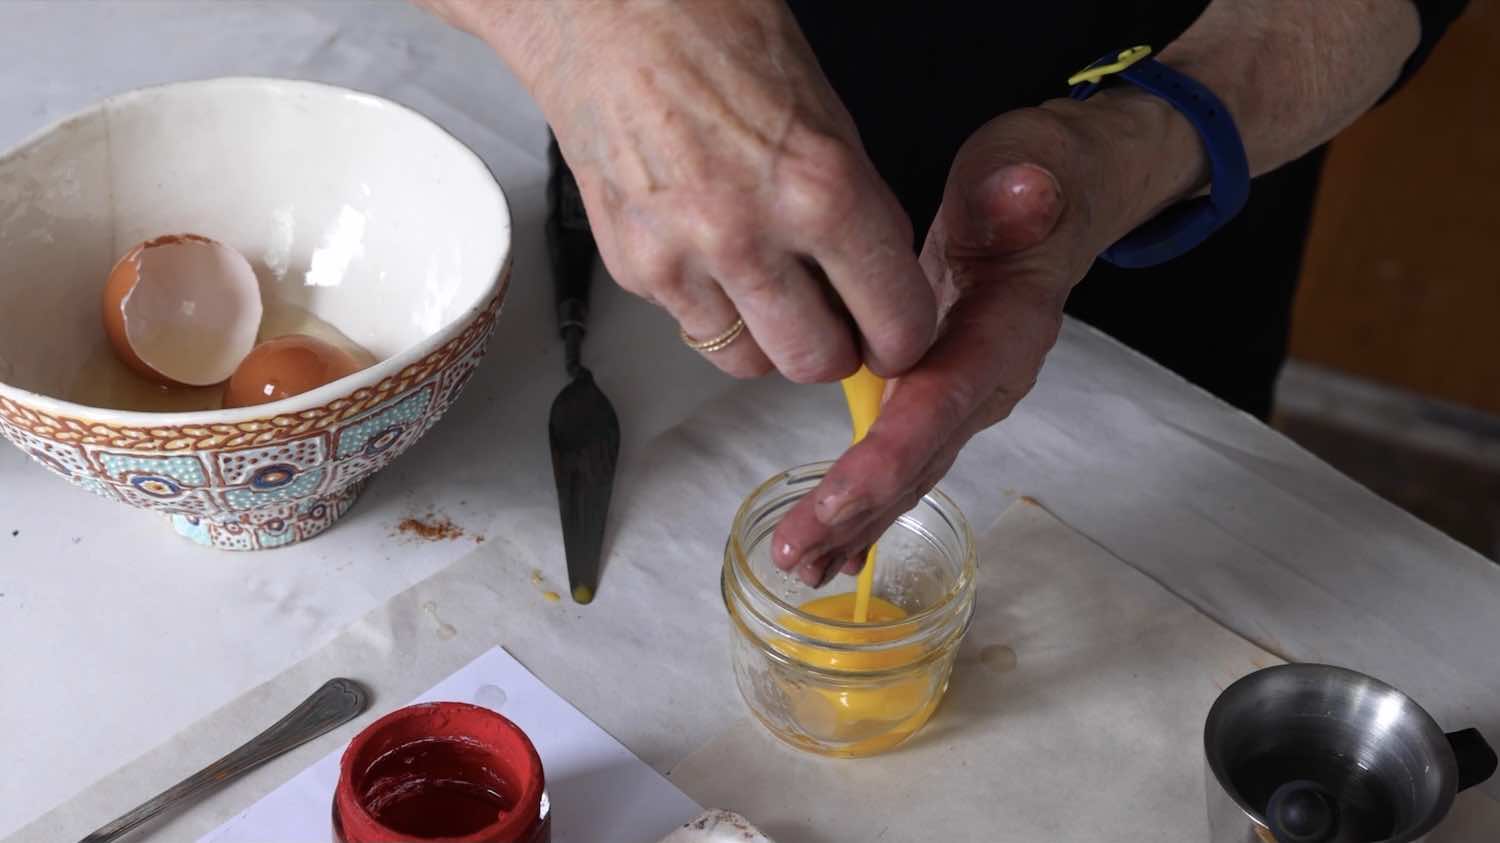
Purifying the Yolk:
Holding the yolk sack, allow the yolk to drain into a clean dish reserved for holding the yolk.
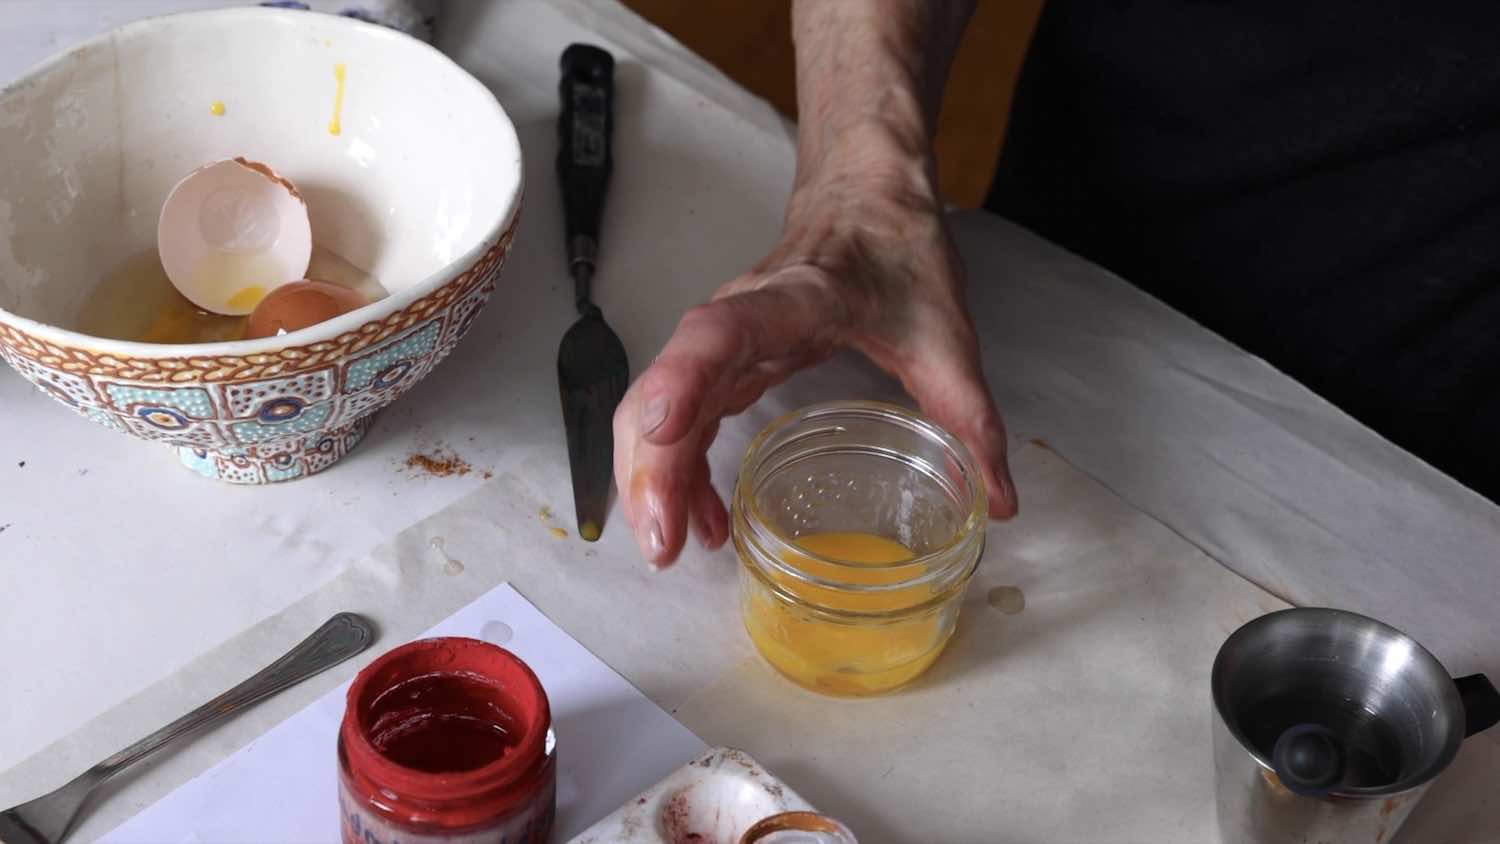
Your purified egg yolk:
Check to be sure there are no bits of shell.
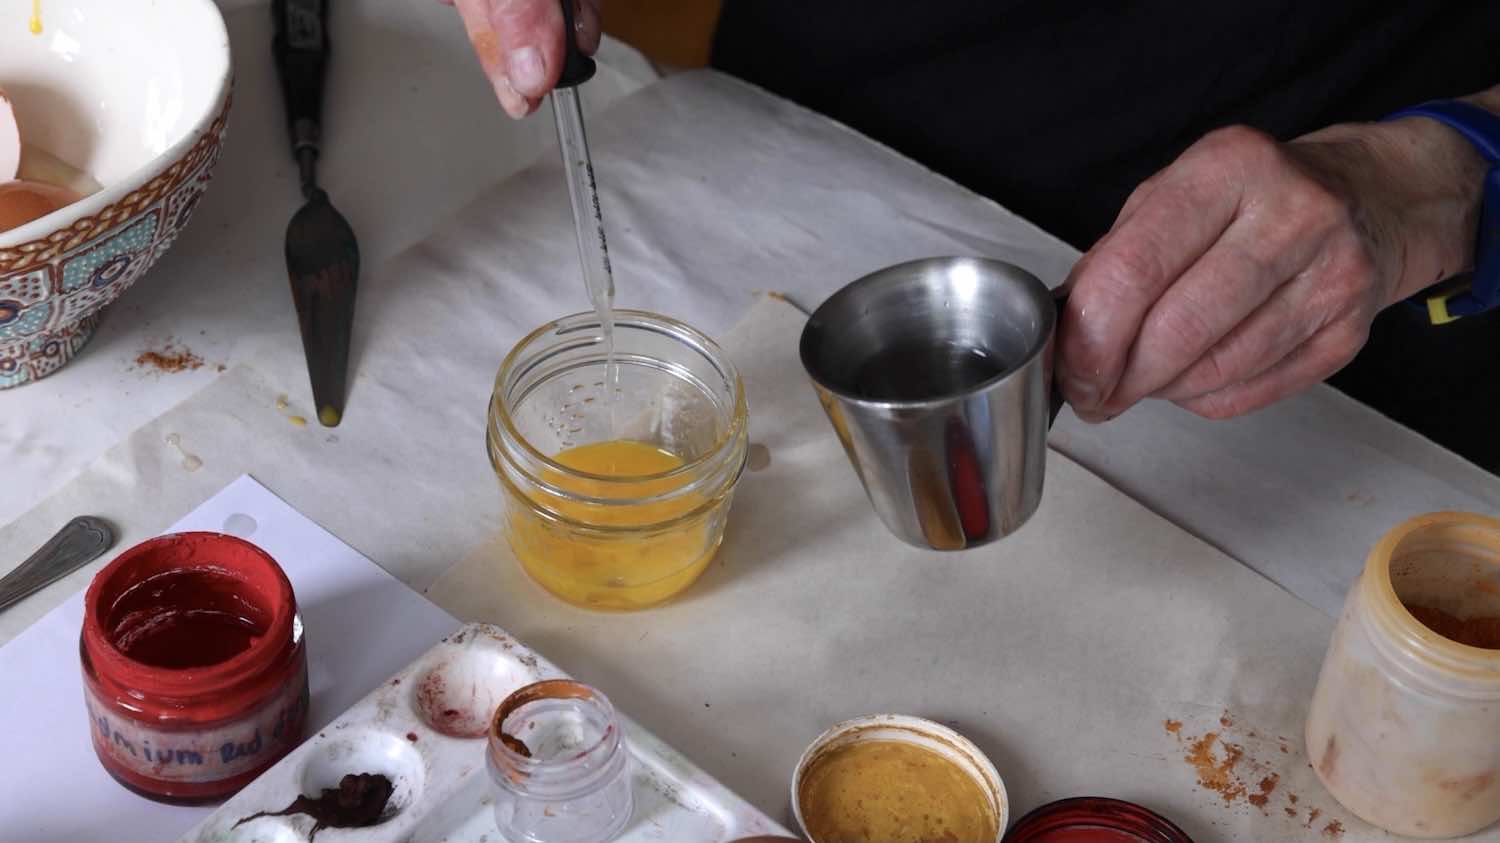
Add distilled water:
With an eyedropper add an equal amount (about 5 droppers full) of distilled water into the purified yolk.
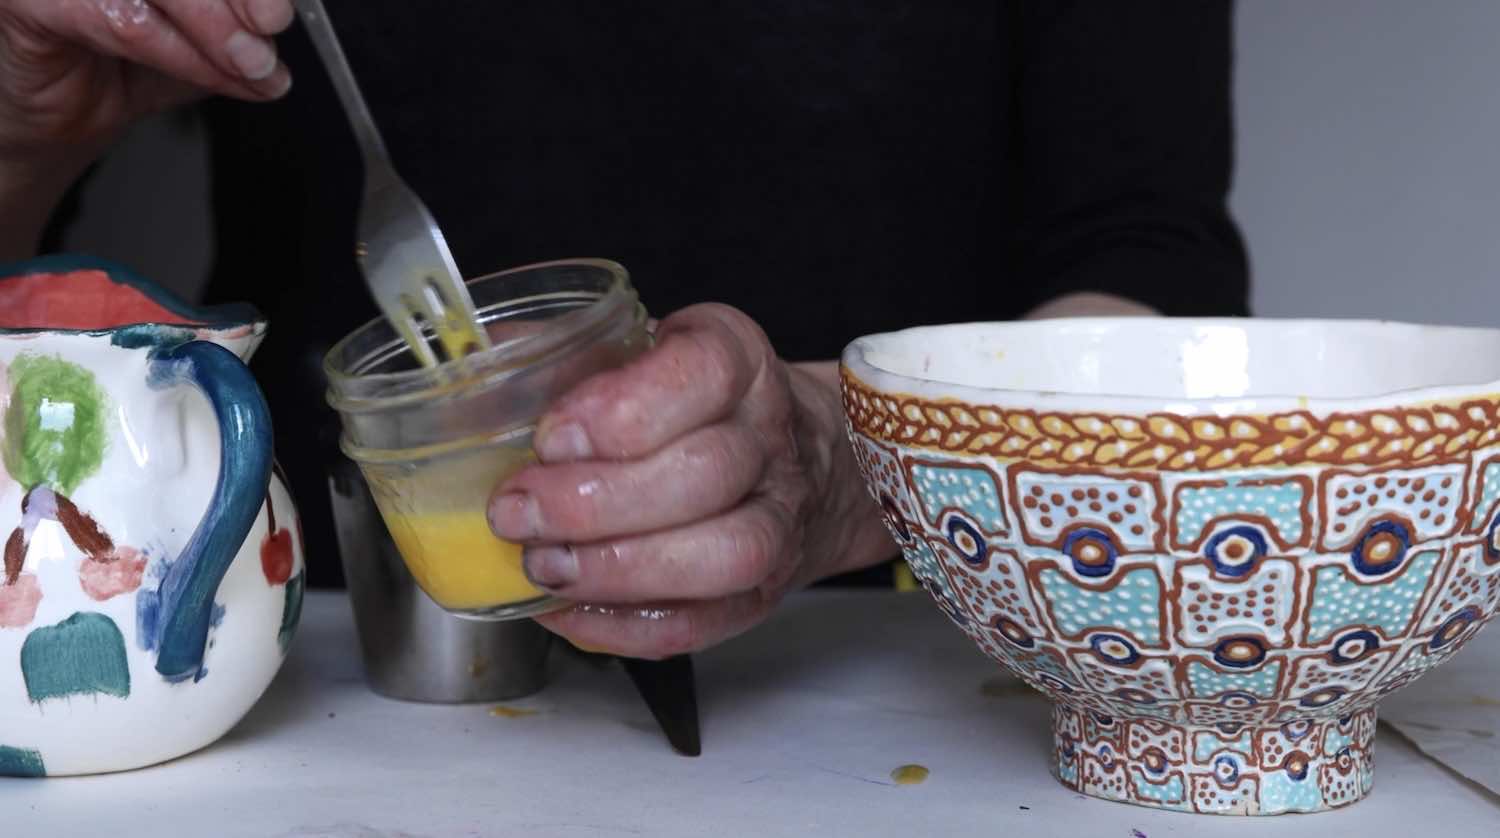
Stir together water and yolk to create your egg tempera medium:
With a small fork stir together the distilled water and purified yolk. You now have your egg tempera painting medium. You can keep this medium in a covered jar up to 3 days in your refrigerator.
5. Mixing the paint paste into the egg medium.
You will need your prepared egg medium (the binder): prepared pigment (pigment powder ground to a paste with distilled water); a palette with shallow wells to hold your paint; a palette knife to dispense your pigment paste; an eye dropper to add your egg medium; and a brush to mix your paints. Note. It is a good idea to keep your colours on separate sides, warm and cool, to avoid inadvertently mixing new colours.
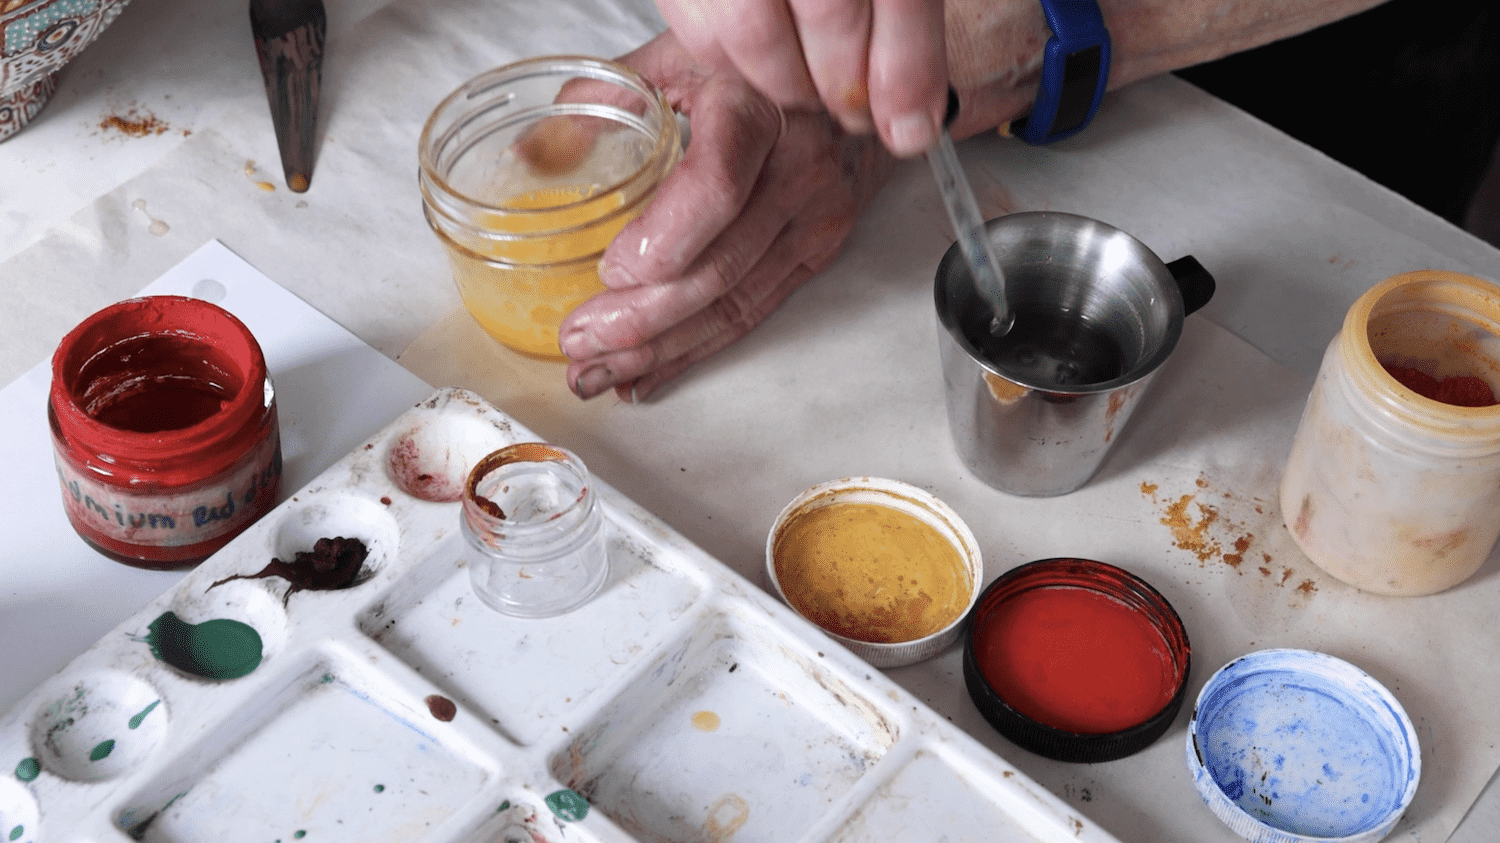
Have your purified egg yolk ready:
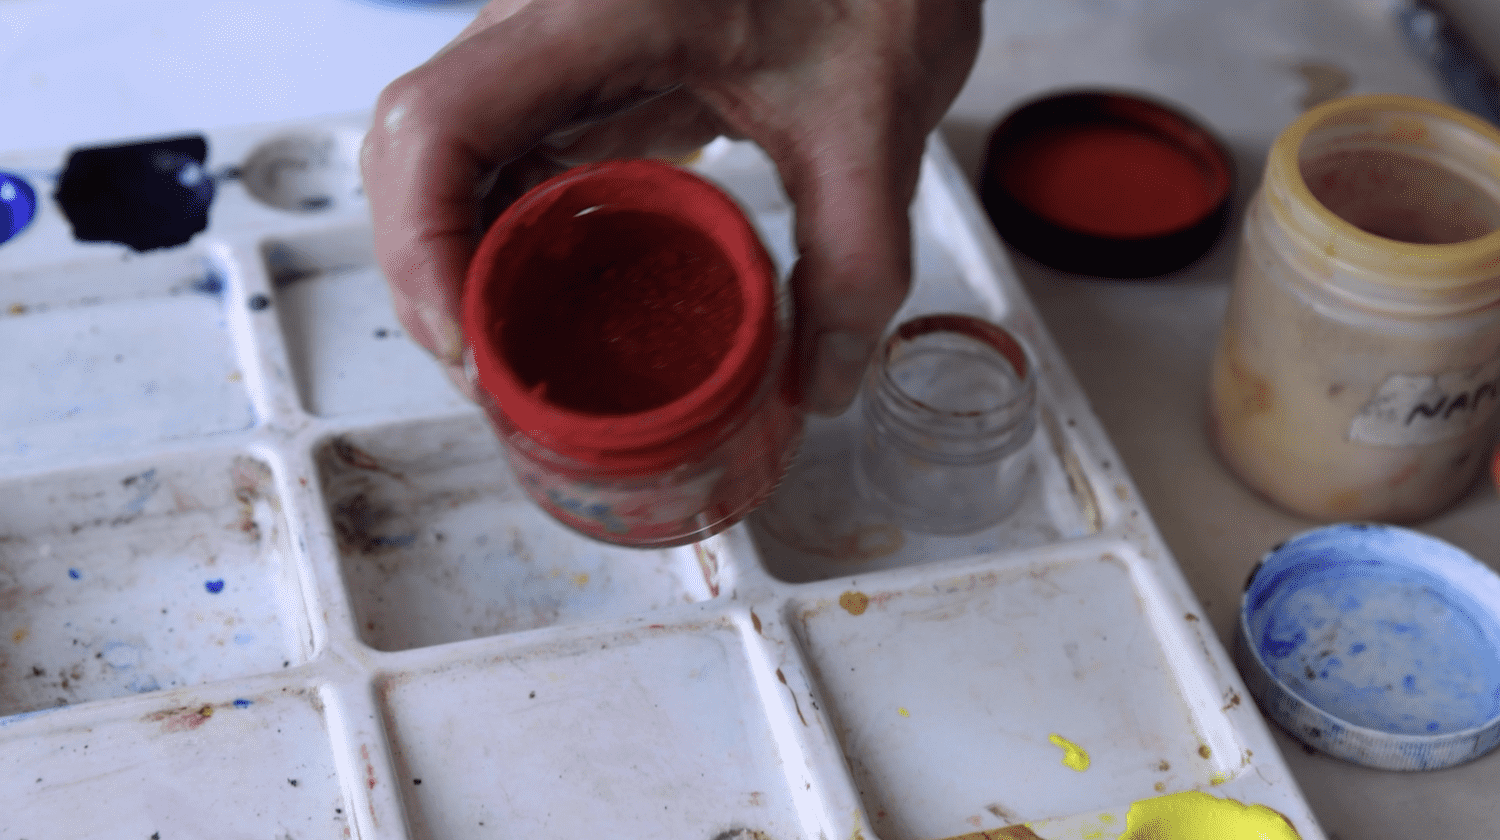
Have your pigment, prepared into a paste, ready:
prepared ahead of time. The pigment paste will keep for months if you add a film on distilled water over top.
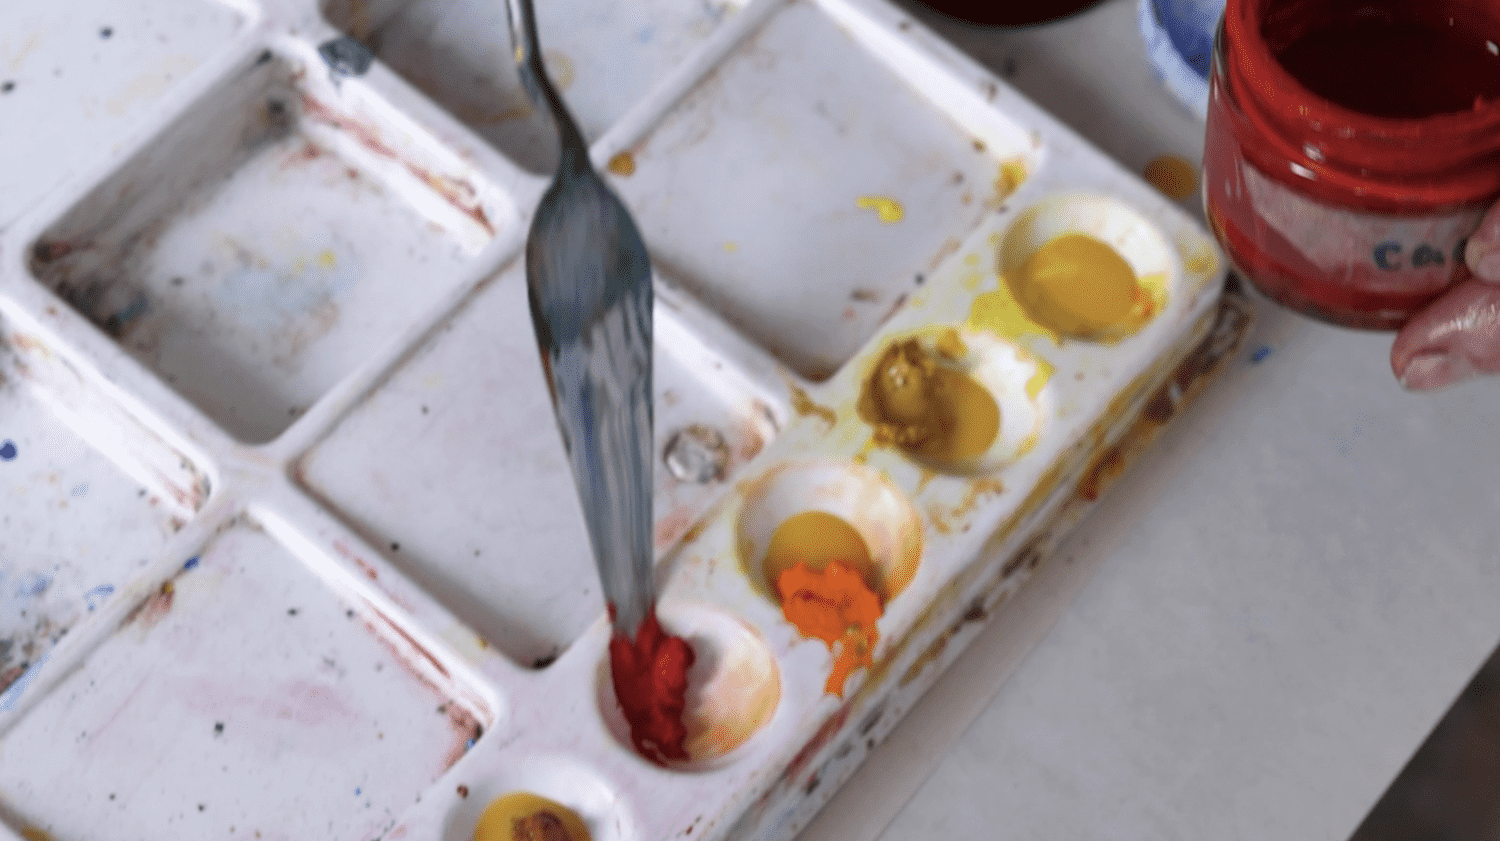
Add small amounts of paste to your palette:
Once the egg is added to the paste to create the paint for your egg tempera it will last no more than 2 days. Prepare only as much paint as you think you will need for your immediate progress.
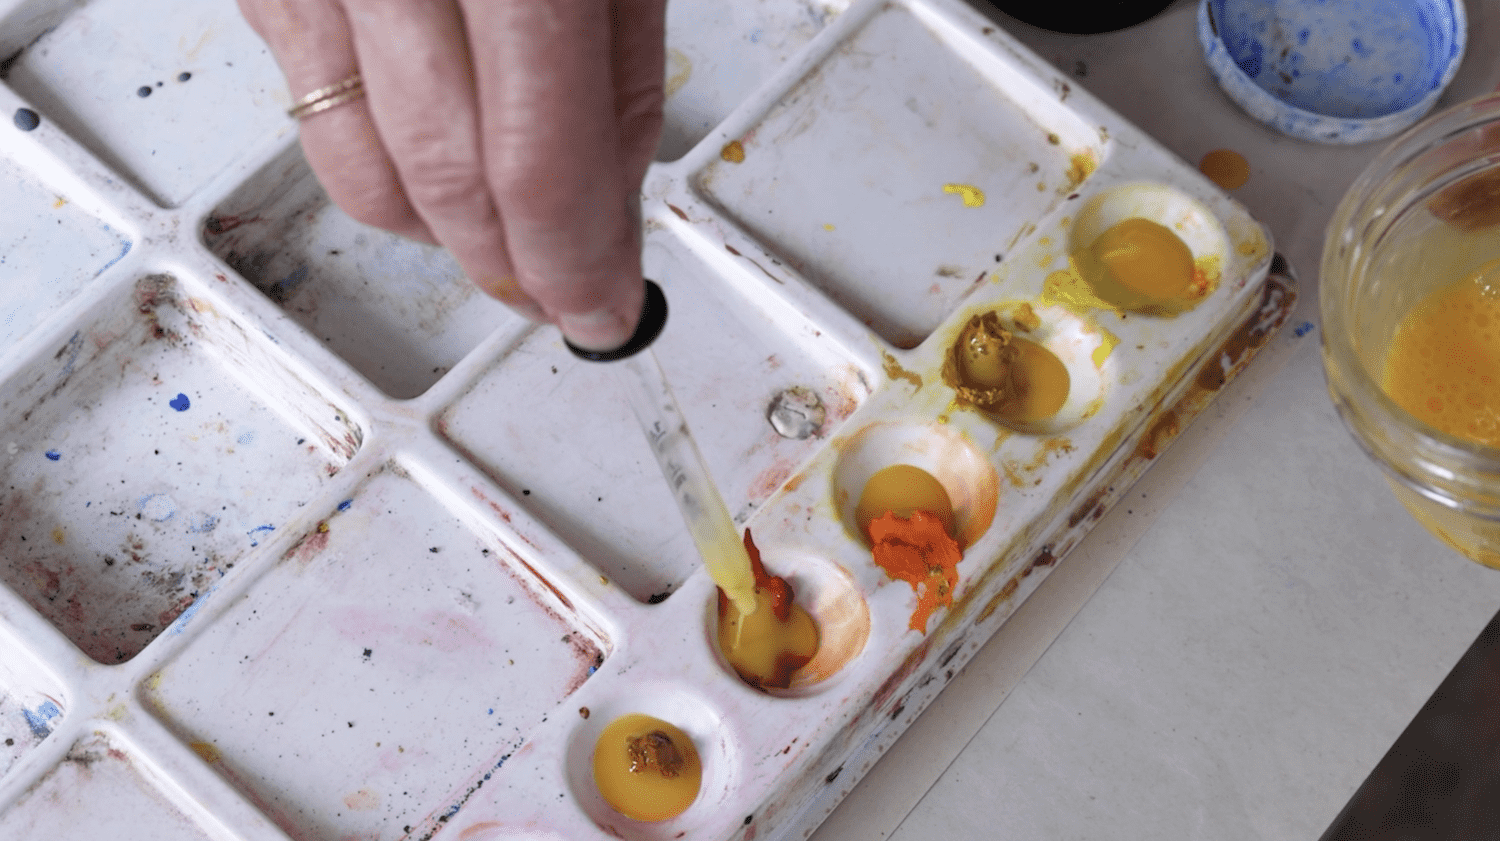
Add the prepared egg yolk medium:
Use an eye dropper to add an equal amount of egg mixture to your pigment.
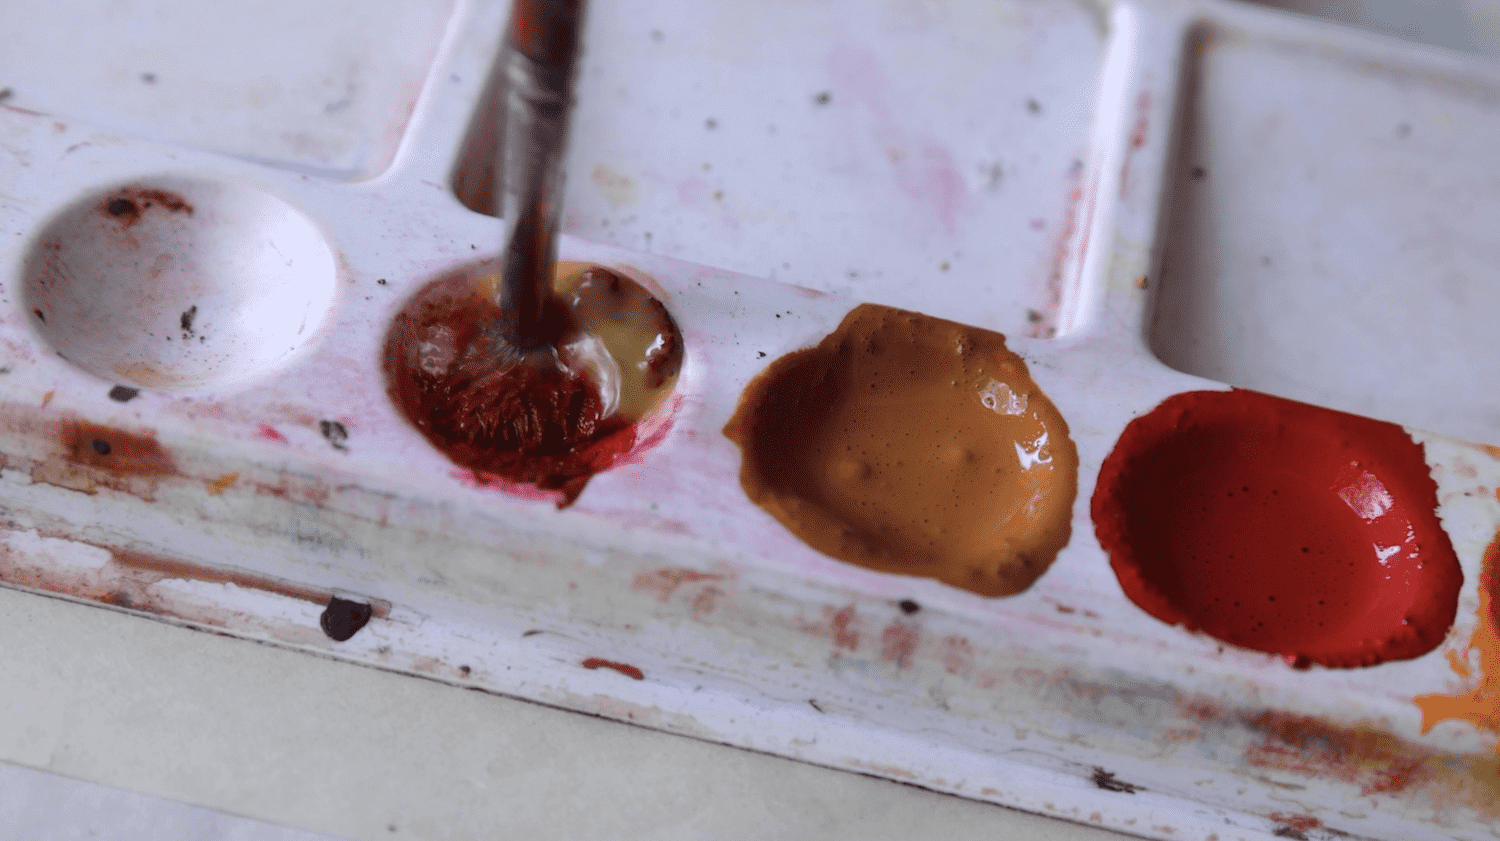
Mix the egg mix and paste together:
Use a brush to mix the egg and paste together to form a uniform colour with a smooth consistency.
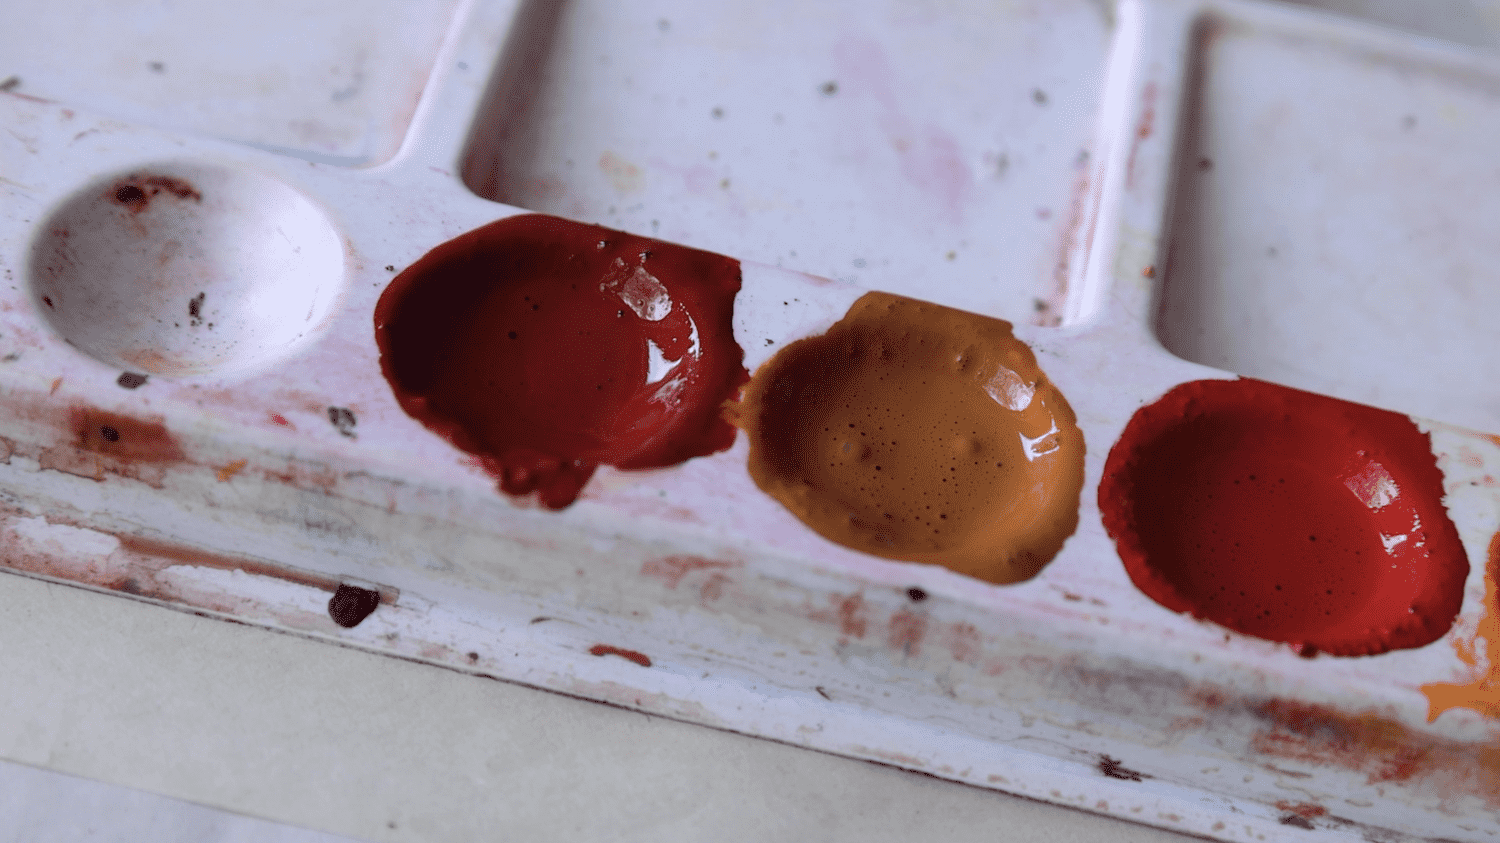
The egg tempera paint ready for use:
All paints use the same pigments, it is the binder, in this case, the egg medium, that makes it different.
6. Applying the paint
while talking about the method you’re using and why you prefer it, maybe mention the other methods people traditionally use. It would be good to show, if possible, how to correct a mistake.
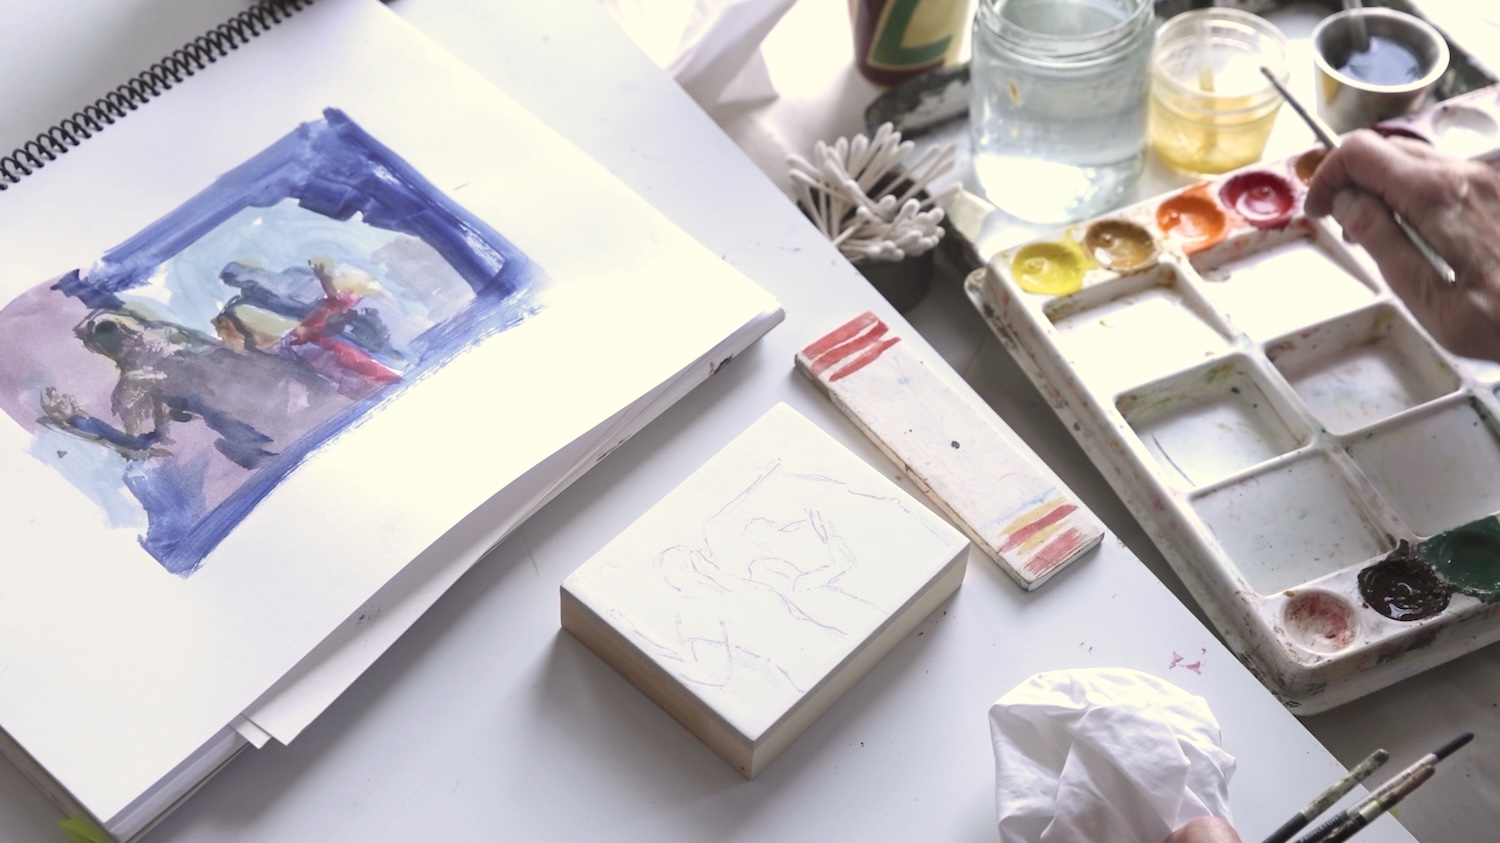
Gather your materials to prepare for painting:
You will need your support with your sketch transferred onto the surface. The sketch you plan to work from, A palette, a rag, brushes, paint, egg medium and a piece of gessoed Masonite to test your colours.

Prepare your colours:
Mix small amounts of paint with your yolk medium to create your desired colours until glossy. Keep your brush as dry as possible to avoid diluting the egg medium. The prepared paint should have a nice sheen.
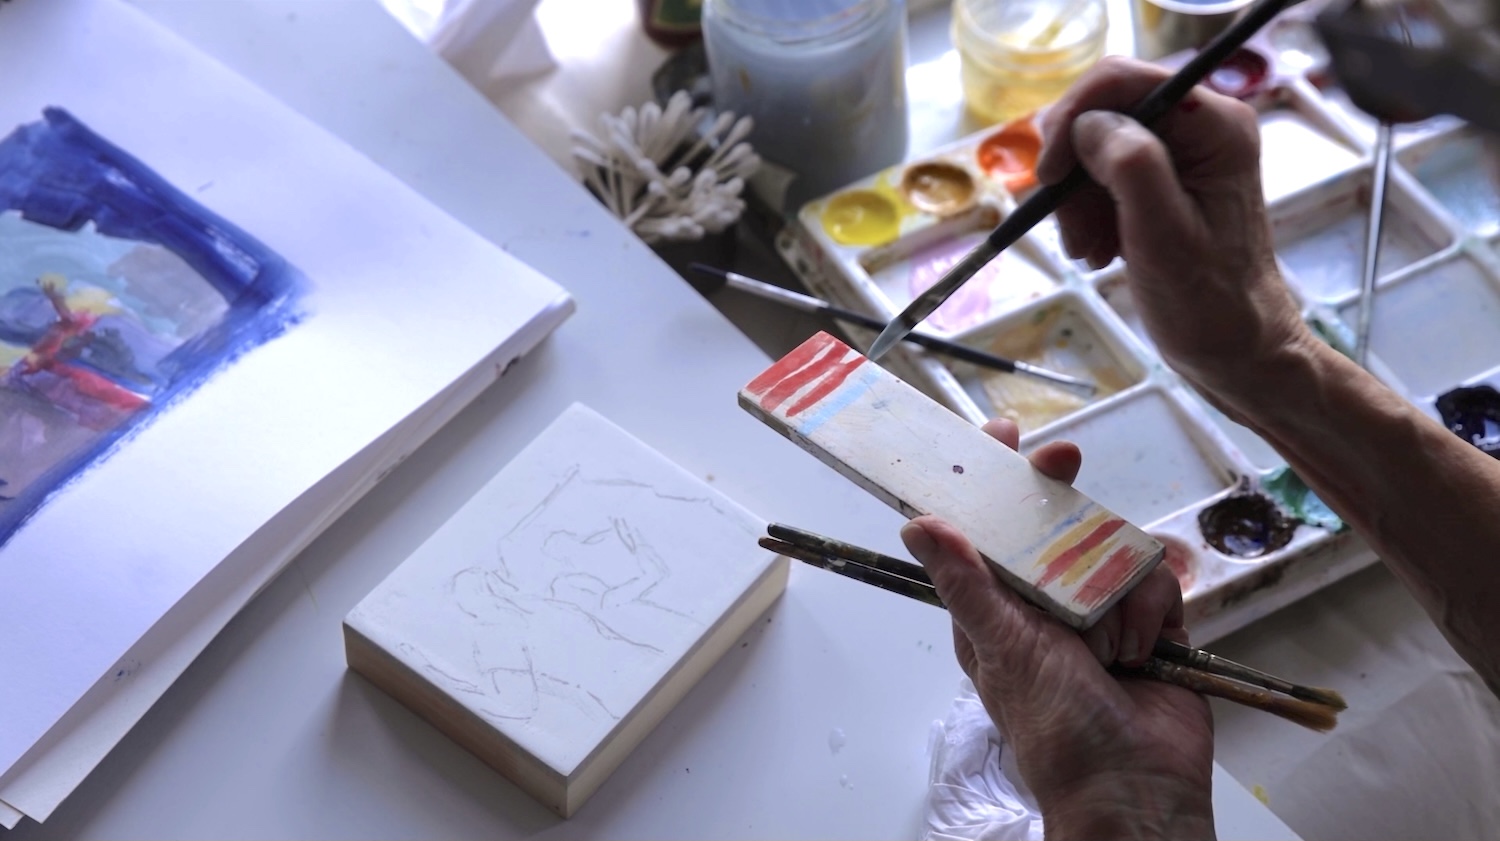
Test your colours:
On a piece of gessoed masonite, test your colours.
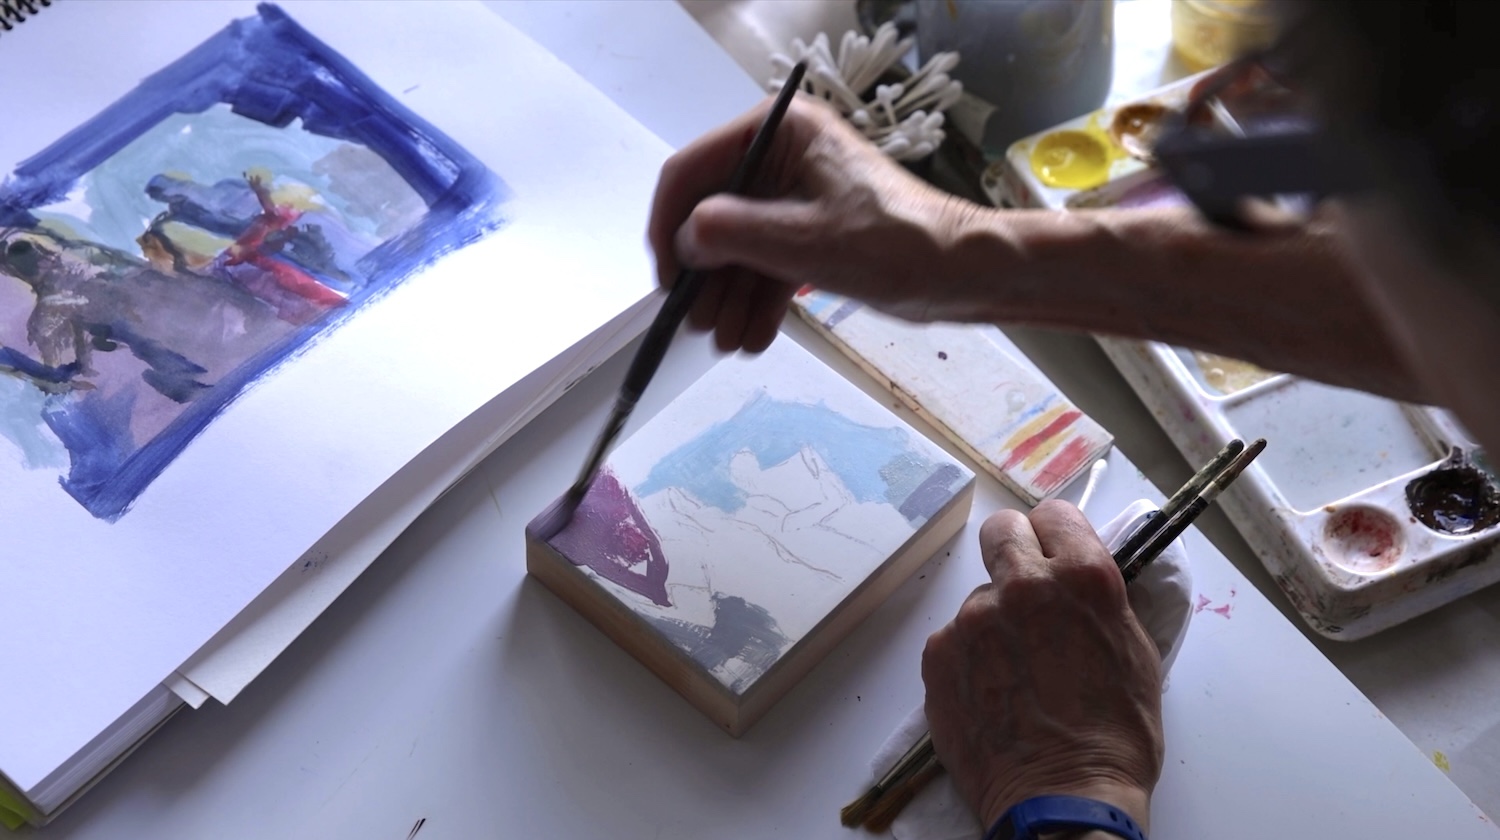
Block in the basic colours of your sketch:
Referencing you sketch you can begin to block in the colours. I is generally best to move from lighter colours to darker ones.
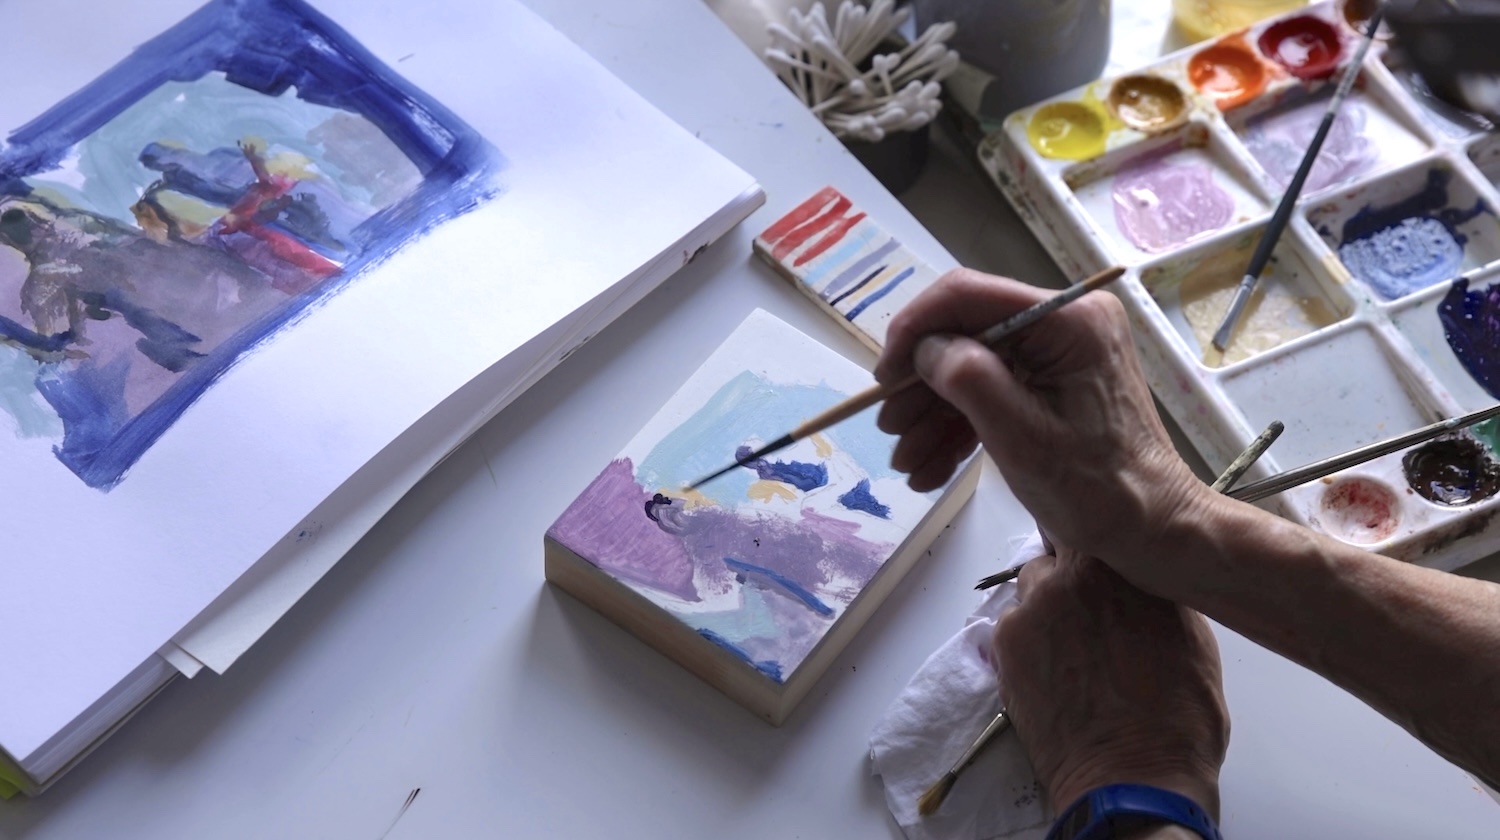
Use a Mahl Stick for finer detail:
Using a Mahl stick to support your wrist while you apply finer details can add control to your lines and protect the paintings surface from accidental smudges.
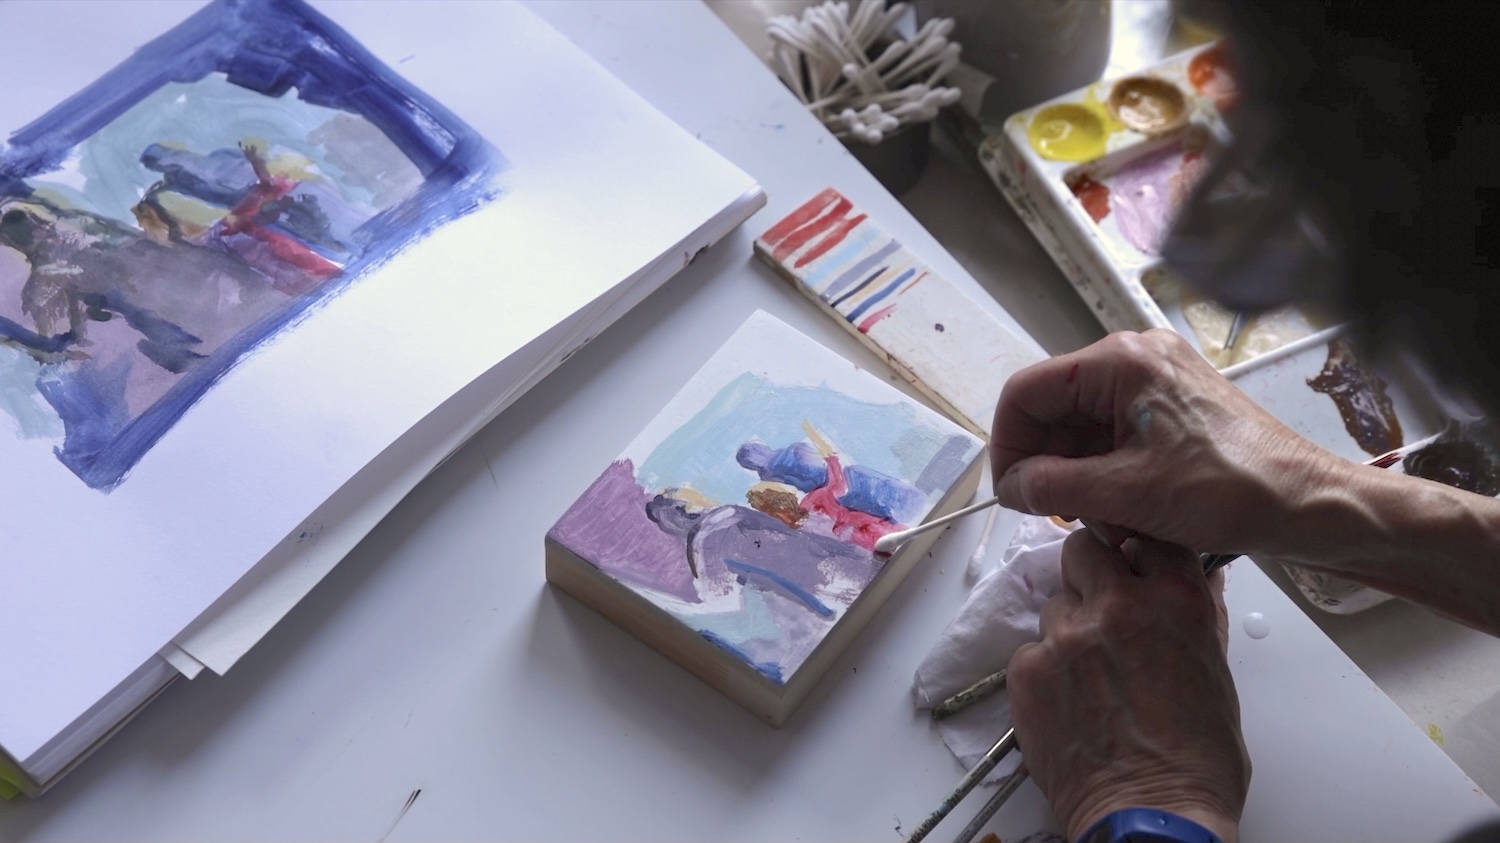
Using a Q-tip to add and subtract layers:
Egg tempera paint takes weeks, even a month, to dry. This means that you can remove colour as well as add it. Using a Q-tip you can easily pull away unwanted colour, restoring the white of the surface. You can also move the paint around, basically painting with the Q-tip.
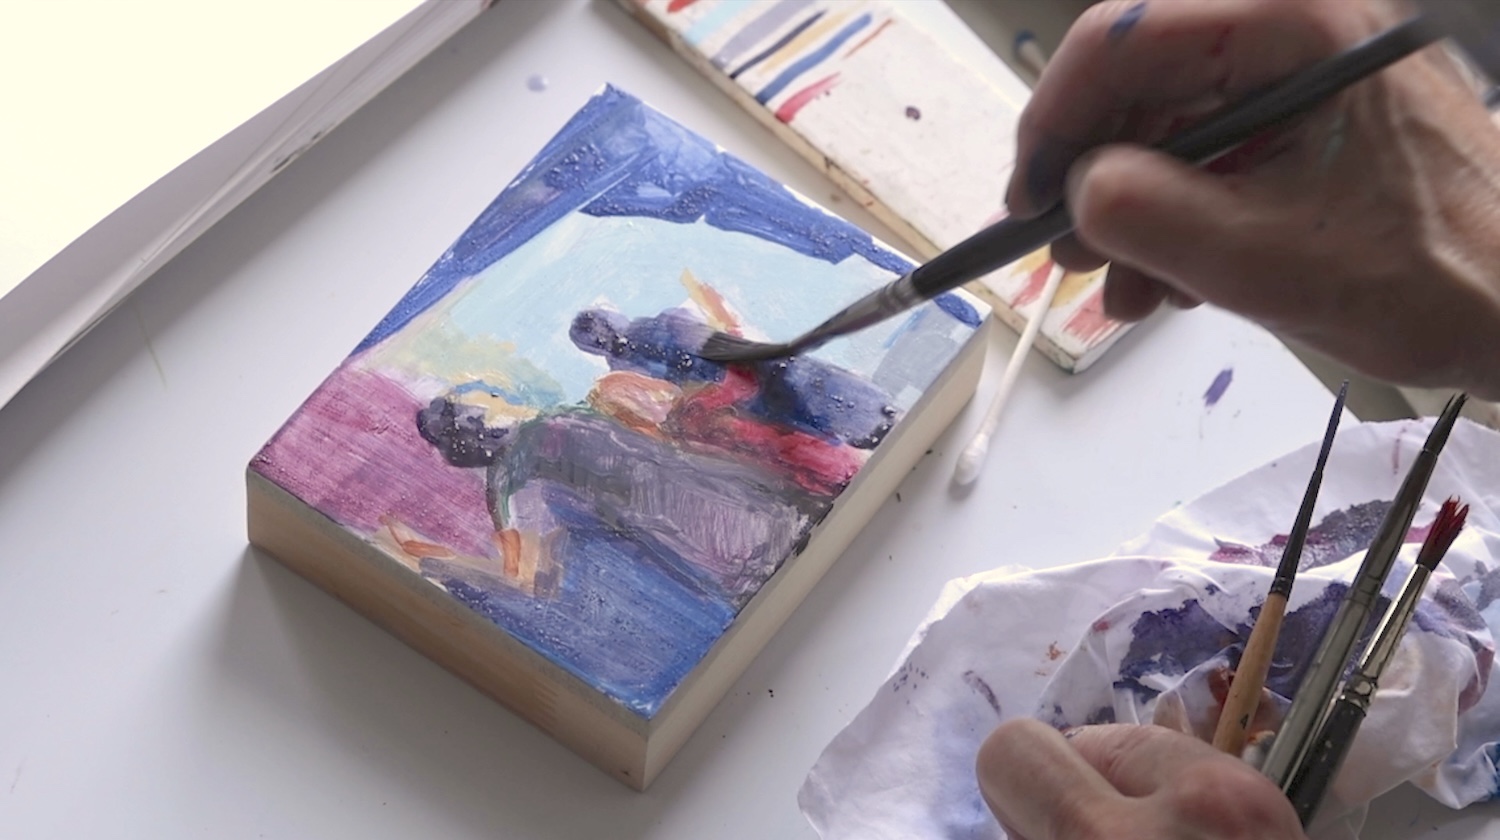
Glazing:
Egg tempera can be thinned to create a glaze (any pigment, thinned to create a semi-transparent layer is a glaze) that adds depth and complexity to colours and forms. Be careful not to use too much egg medium as this can lead to paint cracking off the surface of its support.
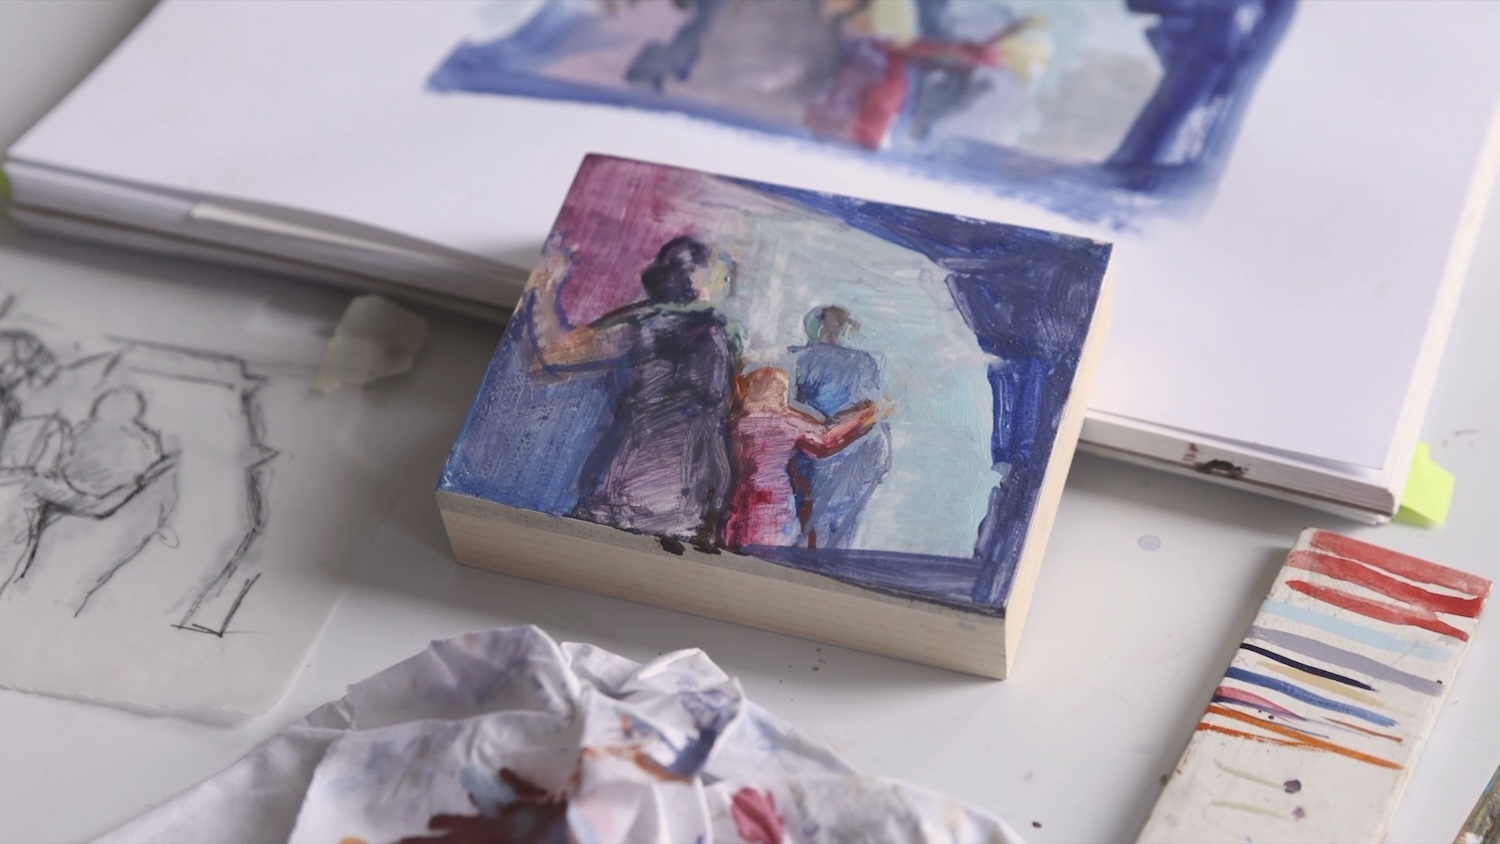
Completed, but still open to change:
The painting, created in this way, can come together in as little as a half hour. With the slow drying quality of the tempera (the white of the board is available for months after the initial painting) this gives you time to go back into the painting, making small changes over time if you choose. The paint can quickly muddied, particularly on this scale. It is a valuable feature of egg tempera to be able to pull back from this.
The Hidden Children series began with a series of sketches made 10 years before the pandemic when Scott rediscovered them during long periods of distancing. The process moving towards each image: finding narratives, making sketches, this took many months. Because of this, the speed and spontaneity involved in the final painting process of the egg tempera panels is especially satisfying.
Scott’s Hidden Children series contemplates stories of children held hostage by social and political forces: war, pandemic, discrimination, and even poverty and mental illness. Her previous narrative series were often very large. The small scale and egg based medium provide a sense of the claustrophobic closeness and vulnerability of Hidden Children.
